
In my previous article, Explorations in Technicolor, we took a mechanical approach to emulating the three-strip Technicolor dye process used to color black-and-white films in the early 20th century, and applied that to color images for aesthetic effect.
With technique established, I wanted to further explore the Technicolor processes, to see how it might be applied in various ways both to black-and-white captures, and to raw files.
Having found success with Photoshop’s separated R, G and B channels previously, my first though was to examine those same channels in a black-and-white image. Unfortunately, even when the black-and-white image exists within the RGB color space, the separate R, G and B channels are identical, and therefore useless.
Turning once more to Wikipedia’s entry on Technicolor for mechanical explanation, we find that, in Technicolor Processes 2 and 3 …
… the special Technicolor camera used a beam-splitter that simultaneously exposed two consecutive frames of a single strip of black-and-white film, one behind a green filter and one behind a red filter …
In Technicolor Process 3, …
… skip-frame printing was used to sort the alternating color-record frames on the camera negative into two series of contiguous frames, the red-filtered frames being printed onto one strip of specially prepared “matrix” film and the green-filtered frames onto another … the matrix films were soaked in dye baths of colors nominally complementary to those of the camera filters: the strip made from red-filtered frames was dyed cyan-green and the strip made from green-filtered frames was dyed orange-red.
From these explanations, we realize the important fact, having a color subject or source in the first place is essential to the technicolor process. We cannot, for example, use this process to color a single-frame black-and-white image.
Originally, light entering the camera was split by prism, each beam then being filtered and captured separately. We can simulate this process digitally, providing we are deliberate in capturing our images in the first place. We basically have two options at capture; shoot Raw, or shoot a bracket of monochrome images using simulated contrast filters. In our studies below, we’ll dig into both methods.
Having explored the three-strip, three-dye process in the last article, we’ll here be emulating an earlier, two-dye Technicolor process.
Study I
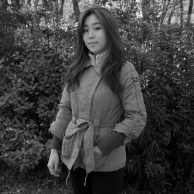
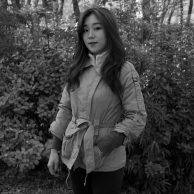
For our first study, I’ve shot Raw + JPG with Fujifilm’s X-Pro2 camera, using Film Simulation Brackets to capture three JPGs per shot. ACROS is a very nice black-and-white film simulation, and my three images will be shot as ACROS + RED FILTER, ACROS + GREEN FILTER, and straight ACROS.
Another shooting option would be to shoot only Raw, then use the in-camera raw processor to create the ACROS + RED FILTER, ACROS + GREEN FILTER, and straight ACROS JPEGs that we’ll be using.
My working images are out-of-camera JPGs:
Shooting Raw, I’m usually very mindful of my histogram. When shooting JPG, however, I have a bad habit of eyeballing the exposure, often resulting in underexposed images. Maybe something I need to work on, though sort of beside the point …
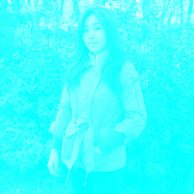
I then use Solid Color adjustment layers and the Lighten blend mode to “dye” the images. The red filtered image is dyed cyan, and the green filtered image dyed red. The third ACROS image, I am discarding.


Originally, Technicolor Process 3 used cyan-green and orange-red dyes. In the digital, I’m finding that straight cyan and red produce better results, with even the slightest deviance throwing the final image’s colors far off the mark.
With our Red and Green frames dyed and merged, we end up with an colorized, albeit unfinished image.
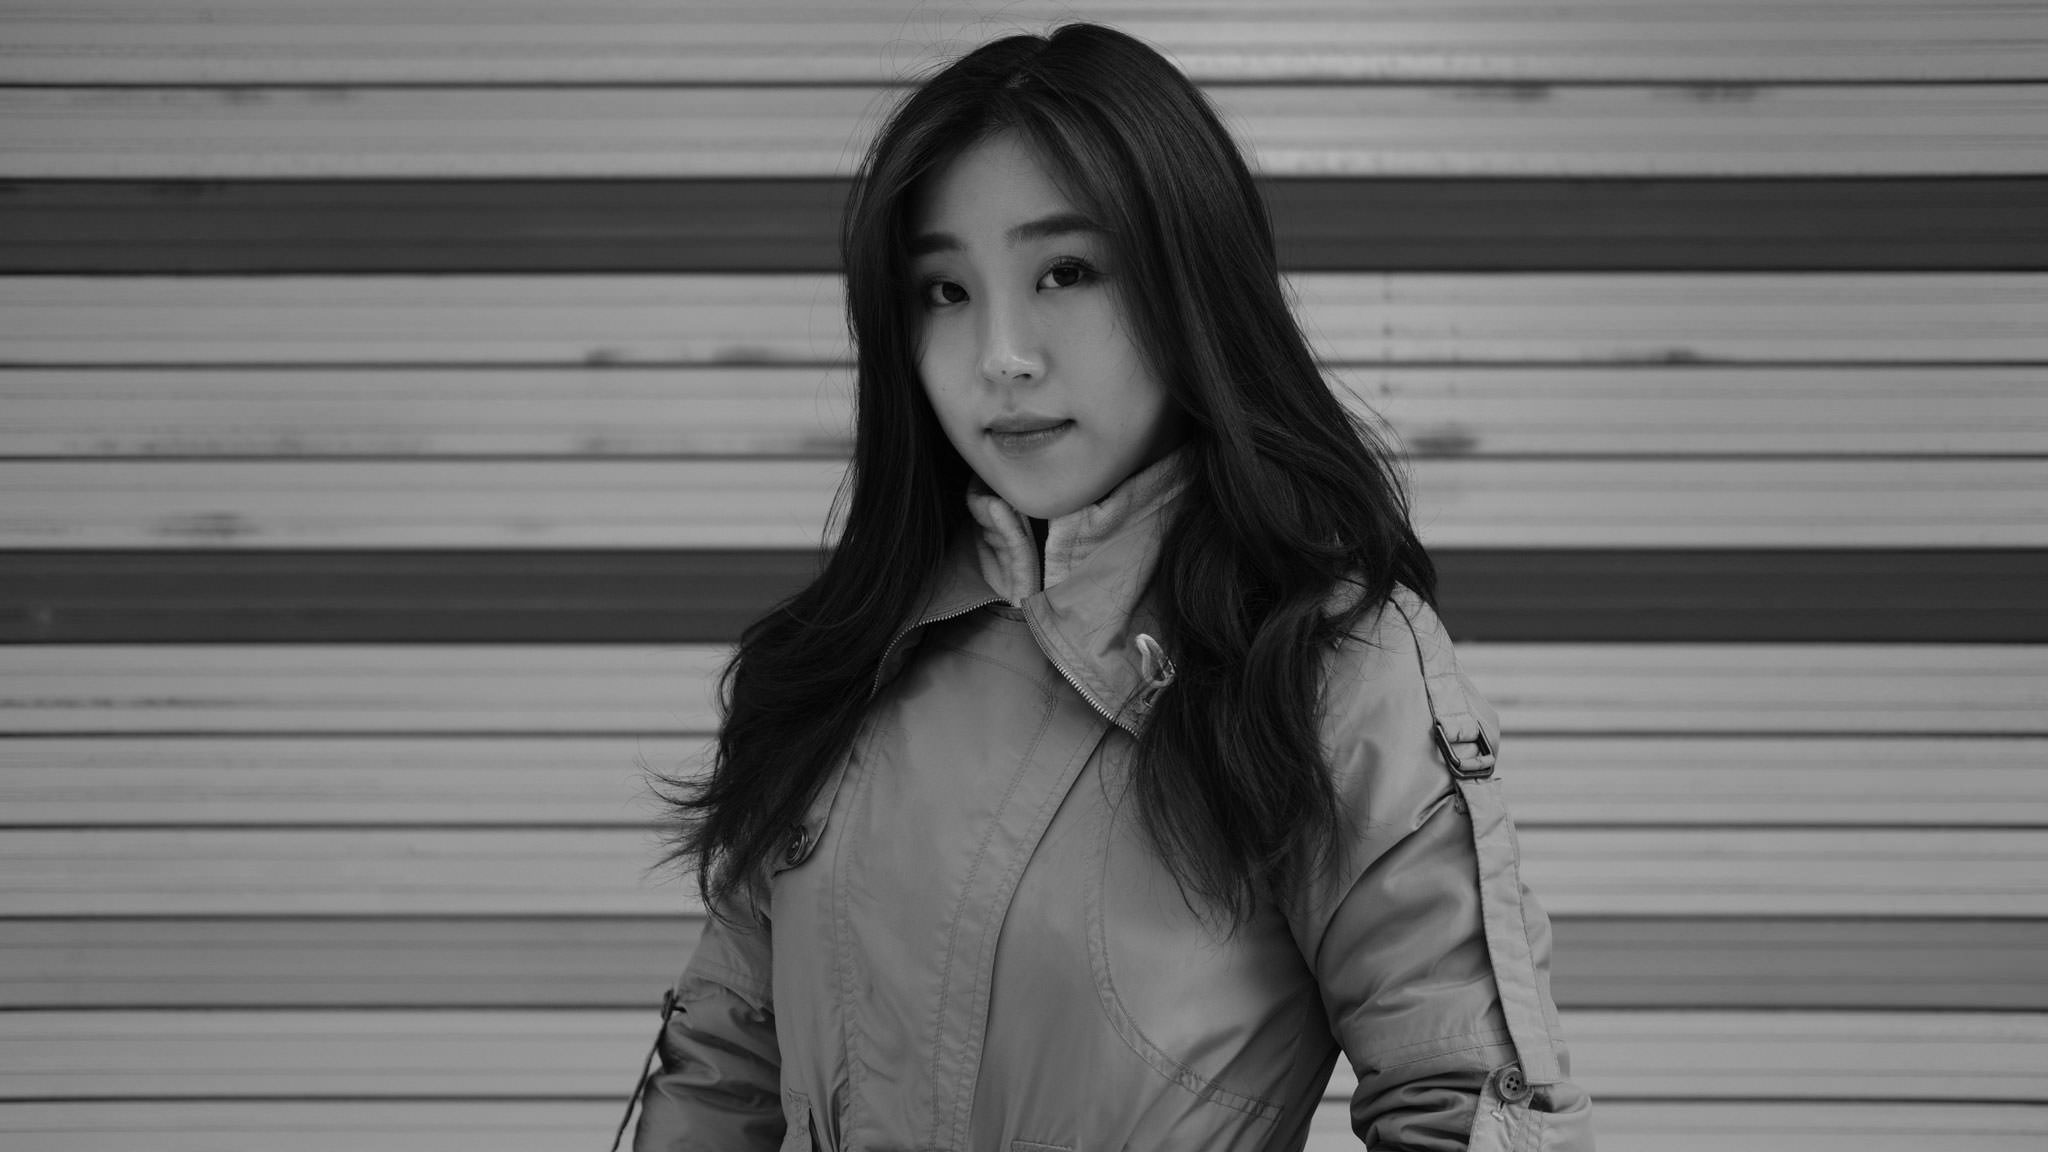
- Red + Green Technicolor, merged.
- Original ACROS.
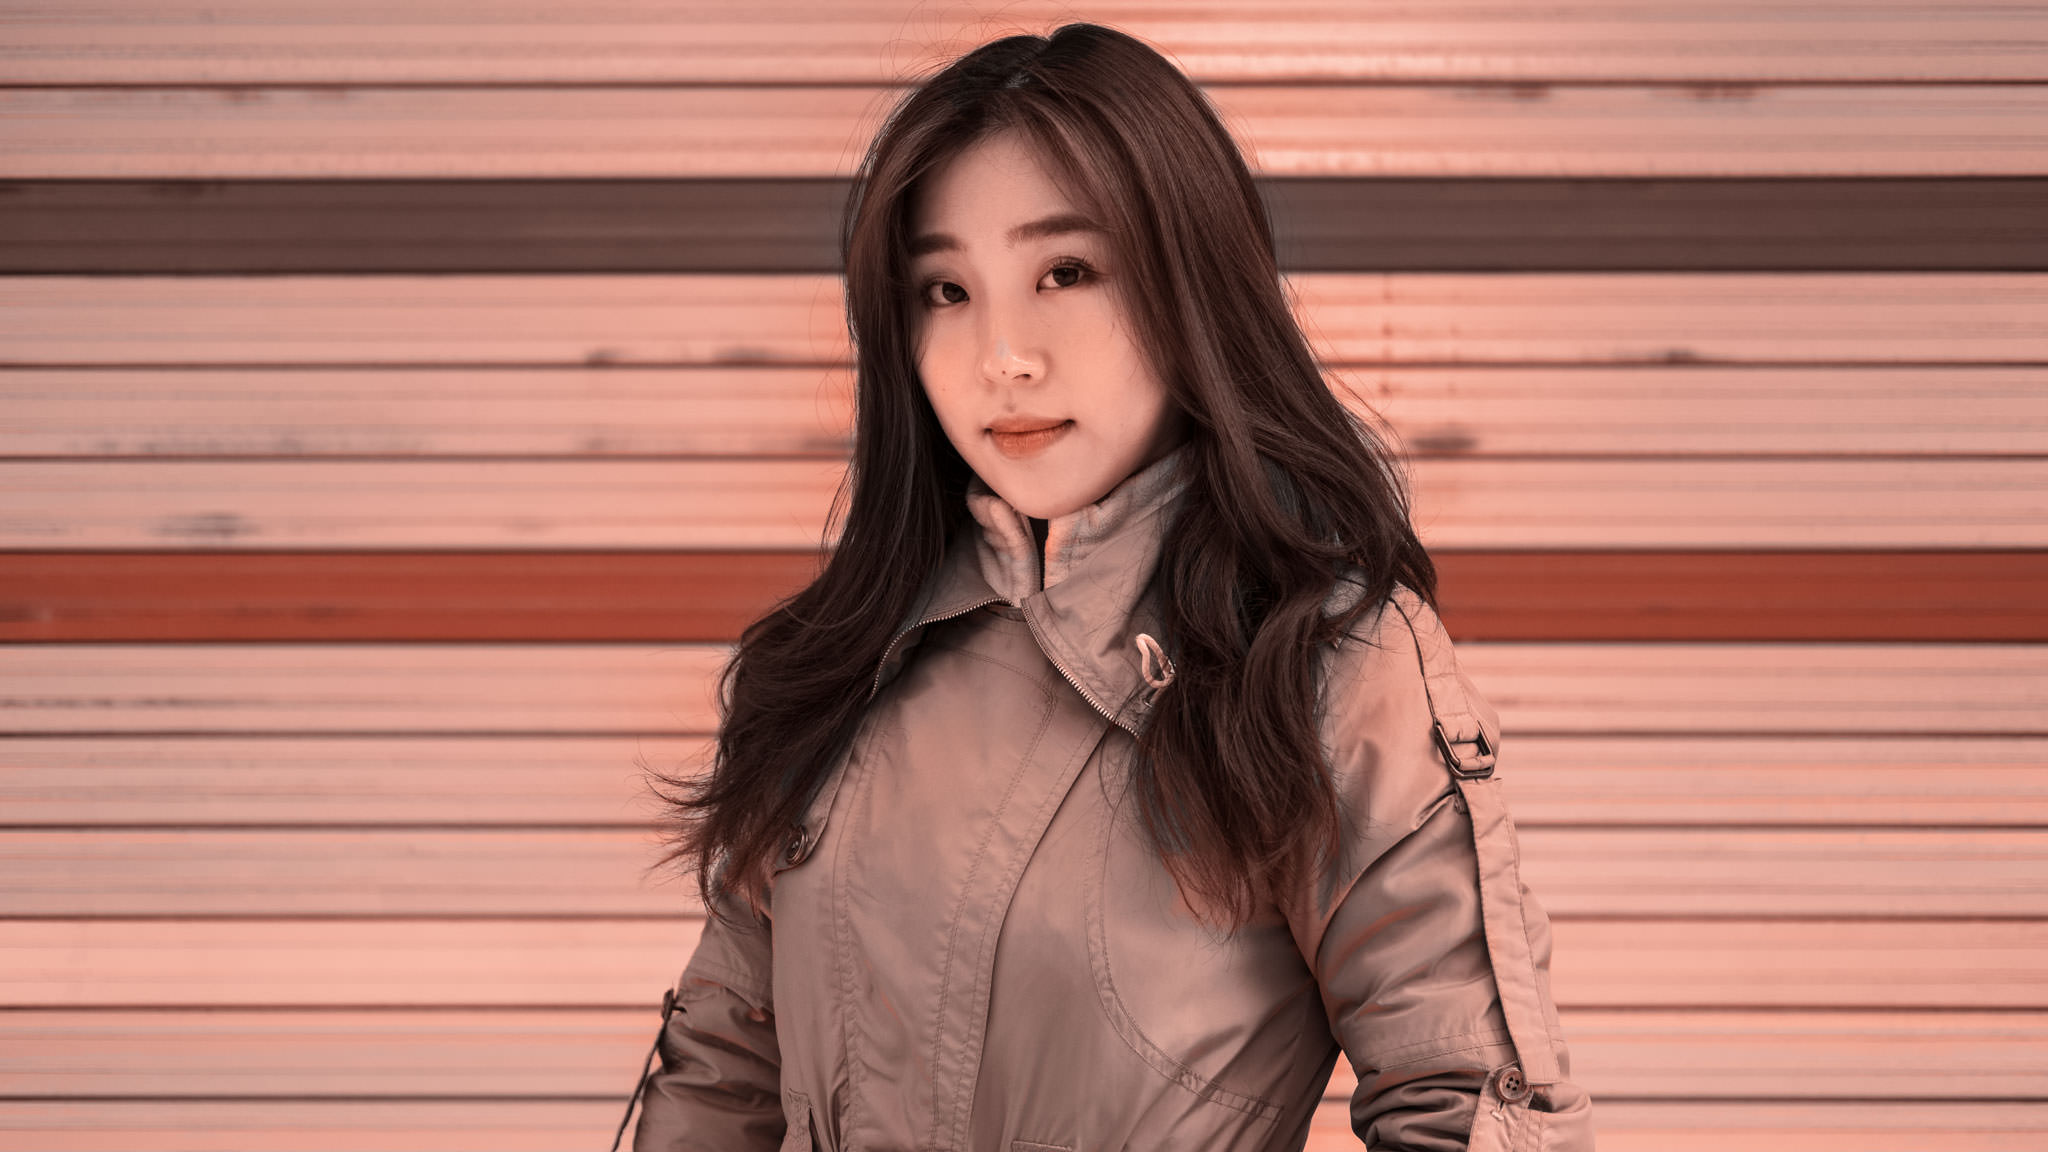
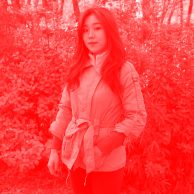
To finish the image, I add Exposure, Vibrance, Hue/Saturation and Brightness/Contrast adjustment layers. In general, I want to brighten the final image and punch up the color we’ve given it. Here’s the final image.

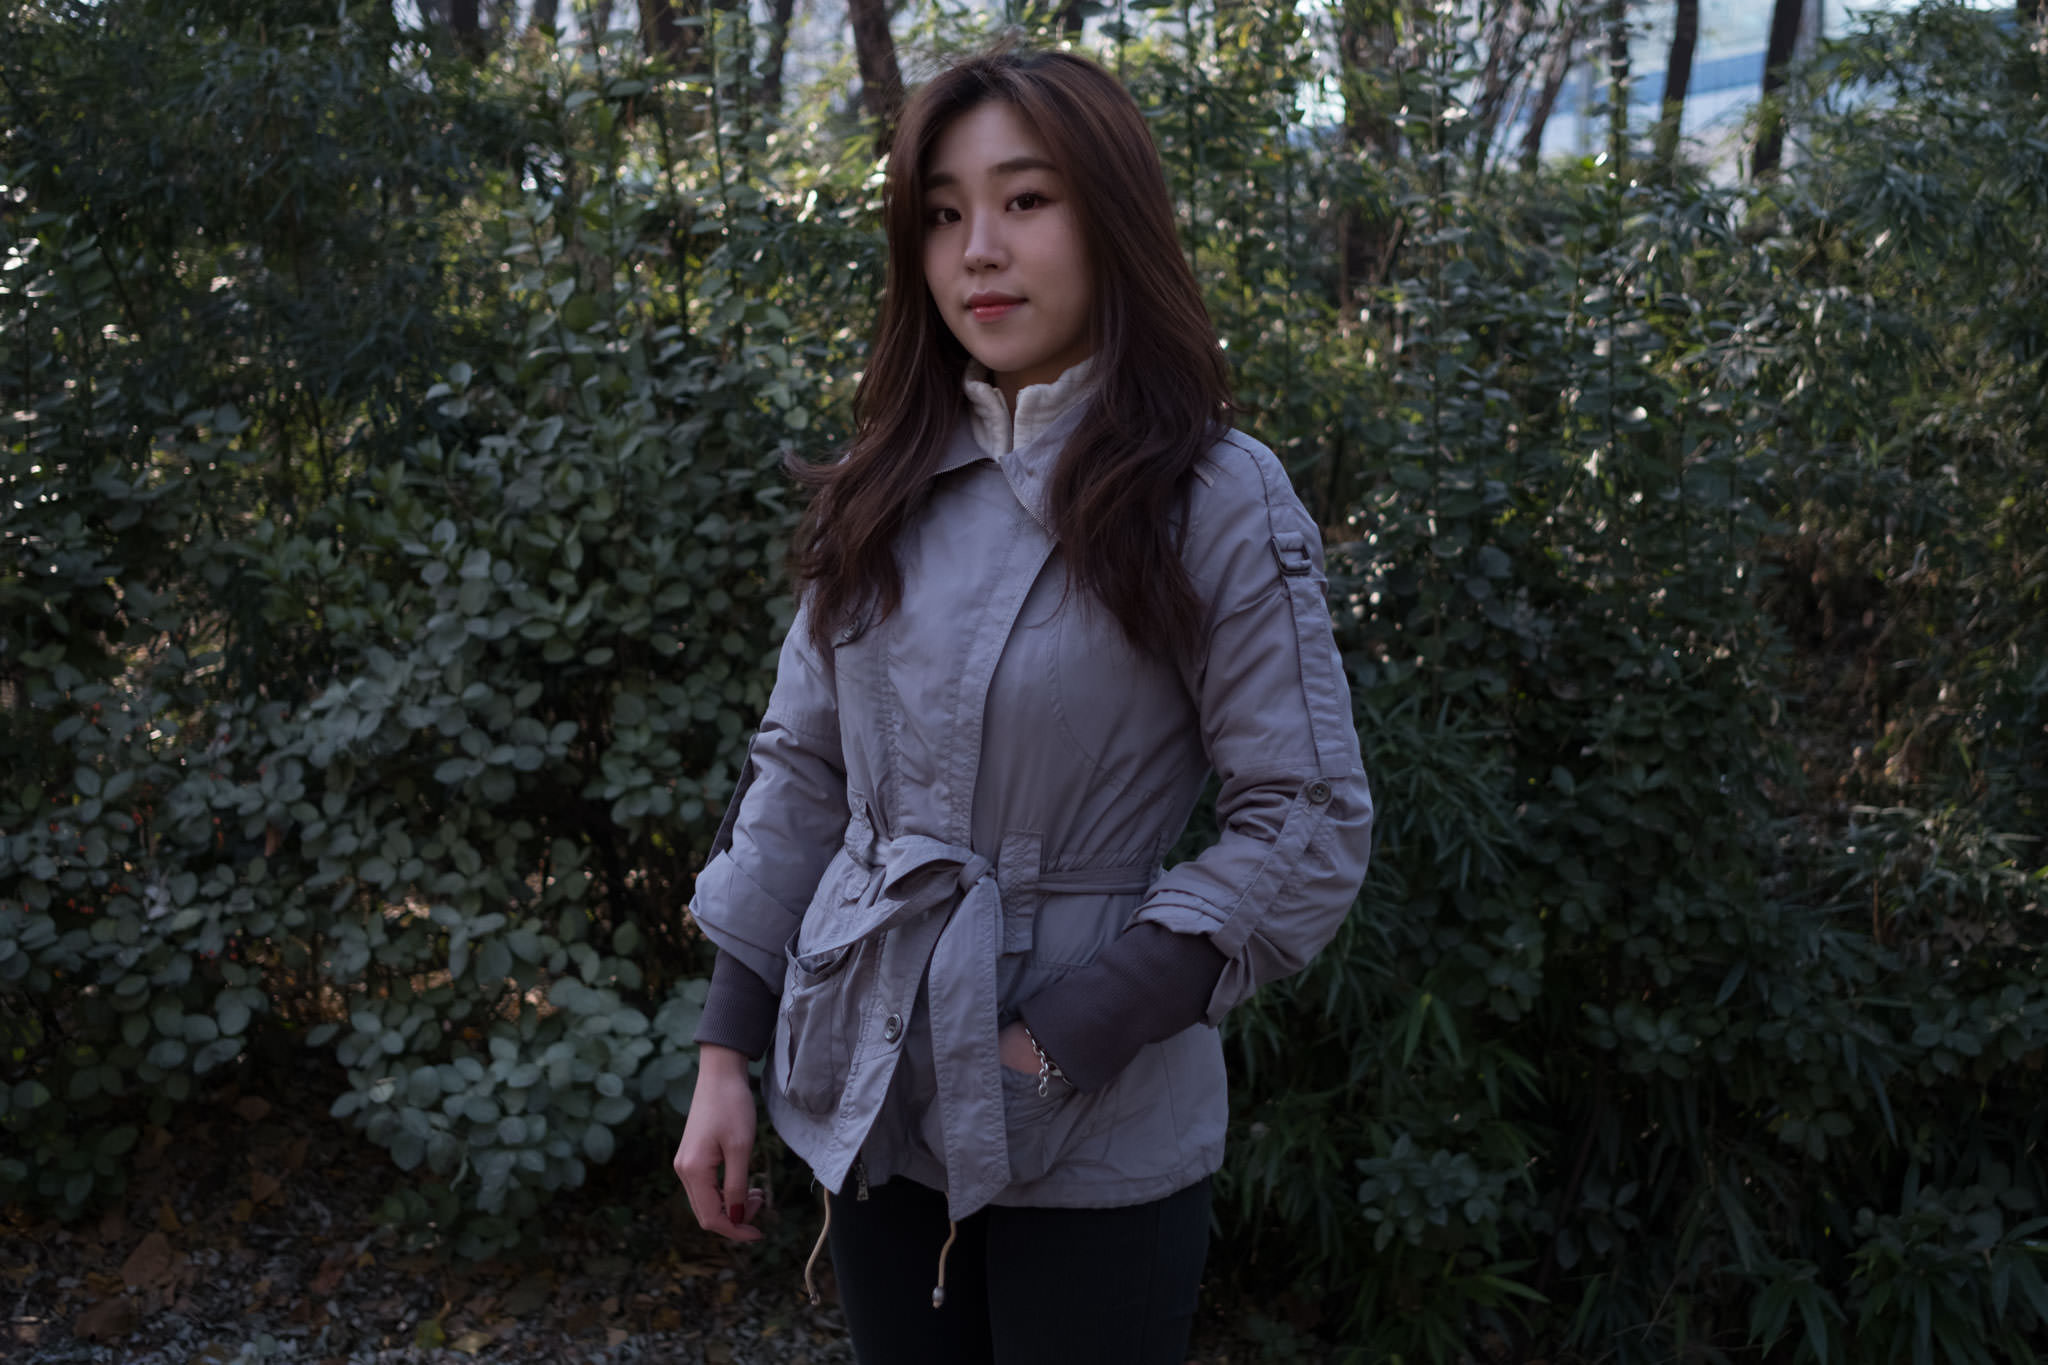
Because I shot in Raw + JPG, we can also compare our final image to the original, color raw file. Though the full-color raw was not used in our process, it is nonetheless interesting to see the input and output side-by-side.
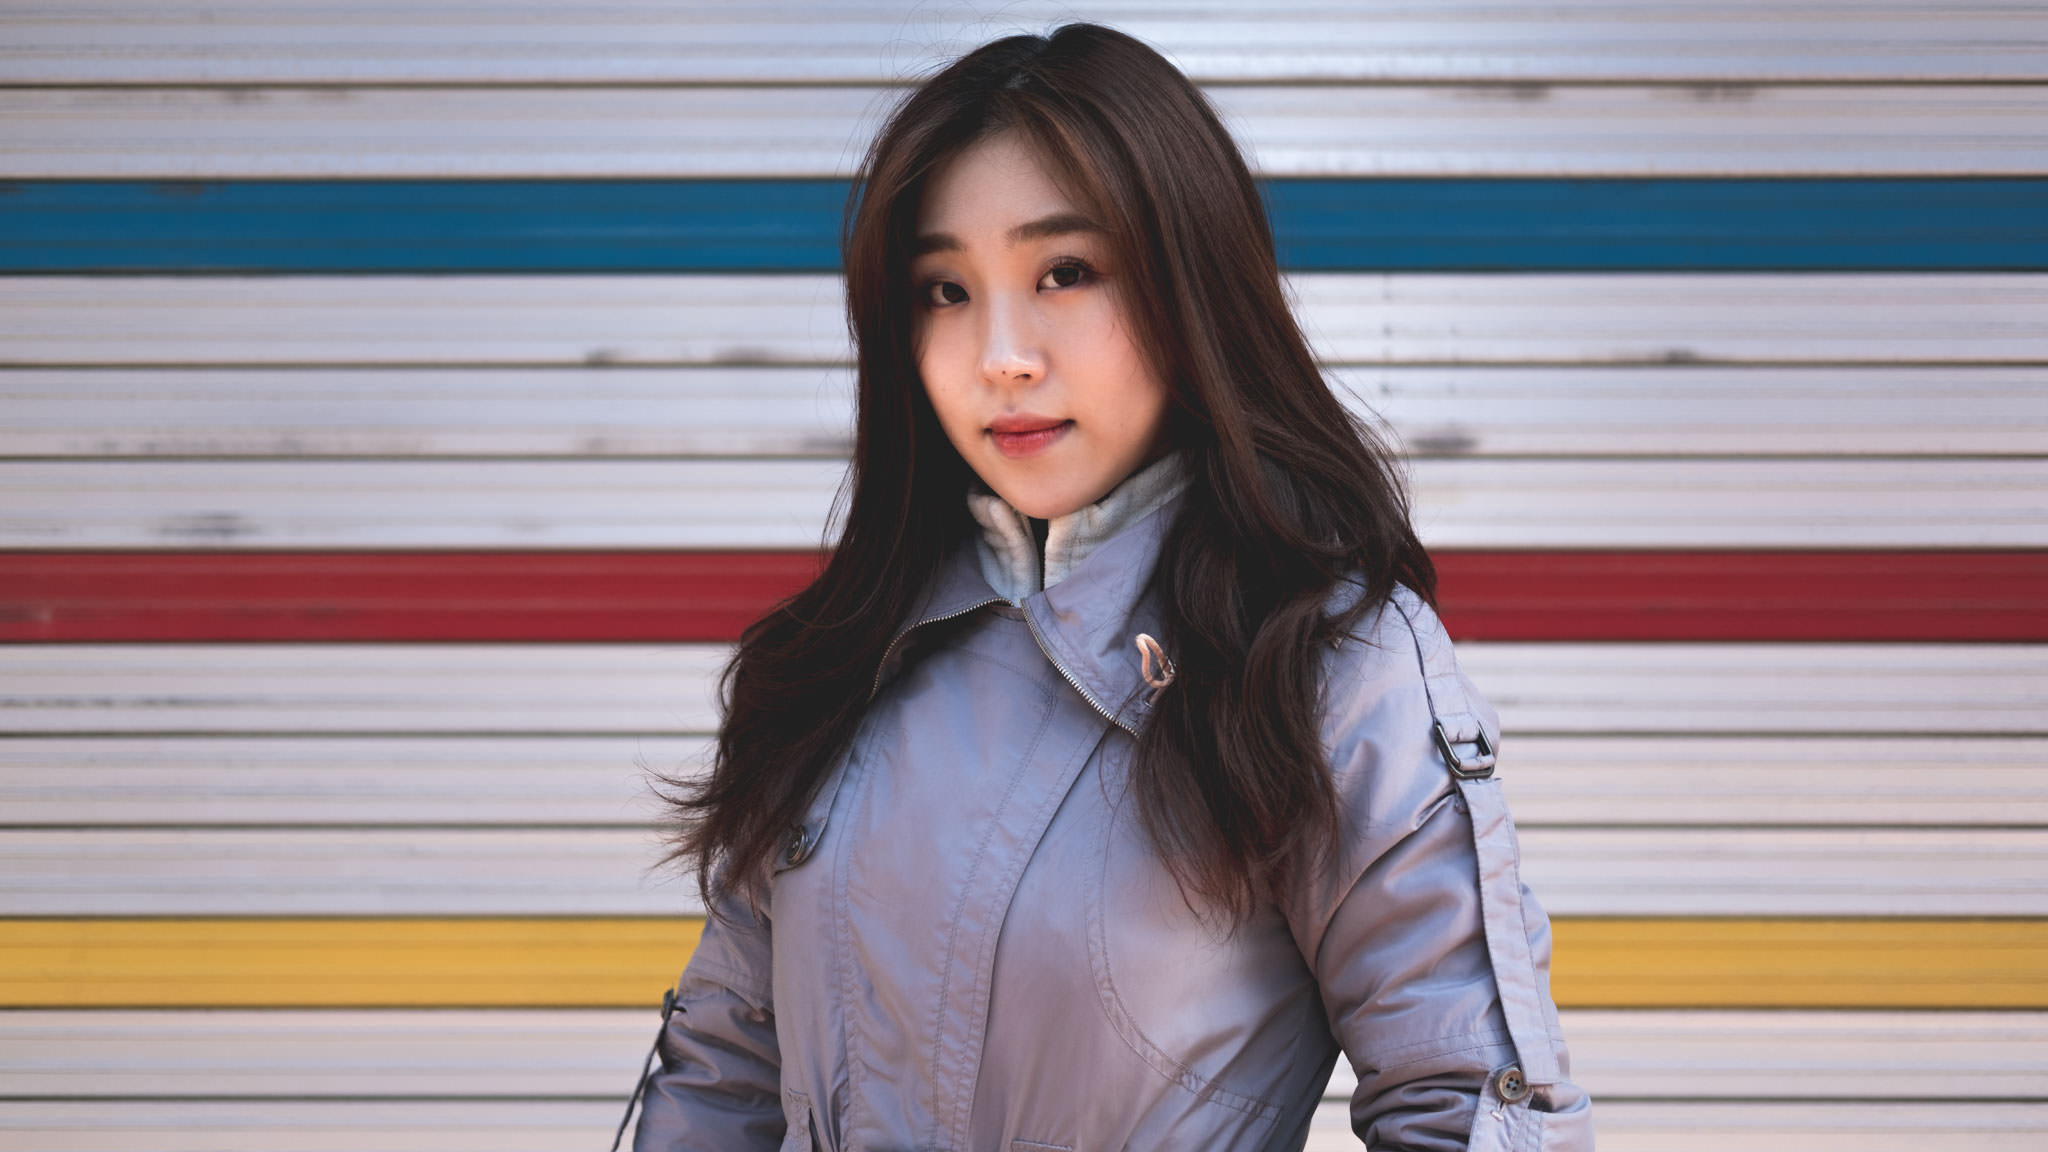
- Red + Green Technicolor, merged and adjusted.
- Unfinished Raw file.
Of interest, but unsurprising, we can see that our process has rendered reds and blues fairly accurately, while yellows have become extremely subdued.
Study II
For our second study, we’re going to use exactly the same process as Study I, and so I’ll skip the step-by-step breakdown.
Rather than using out-of-camera JPEGs, though, we’re now using Lightroom’s Camera Calibrations for Fuji cameras and a single raw image file to generate our three ACROS+R, ACROS+G and ACROS frames. This is just to see what kind of results we can get from Lightroom’s calibrations.
While our processing of the two versions is identical, we find the two images do vary somewhat, as Lightroom’s interpretations of the Raw file are not identical to the out-of-camera JPGs. Close enough to yield good results, though, and we can tweak our adjustment layers for desired effect.

- Red + Green Technicolor, merged and adjusted; images from Raw, using Lightroom’s ACROS calibrations.
- Red + Green Technicolor, merged and adjusted.
Study III
In Study I we used Fuji’s out-of-camera JPGs; in Study II we used Lightroom’s camera calibrations for Fuji’s X-series cameras. Here, we’ll take a more general approach, for those shooting with other systems.
For this study, we’ll put Lightroom’s B&W Filter Presets to the test. Regardless of camera type, you will find them in the Develop module’s Presets panel.
Using a single Raw file as source, I create two virtual copies. To the first, I apply the Red Filter preset; to the other, the Green Filter preset. Then export, and subject the images to our process, as above.
Unfortunately, this does not pass muster. Lightroom’s presets are clearly not up to the task.
Study IV
Study III having been an abject failure, non-Fuji camera users will need to throw their Raw files to Photoshop, then mine them for channel layers.
Keeping it fresh, let’s put up a new image.
In Photoshop’s Channels panel, we copy-and-paste the Red and Green channels into editable layers.
Then apply our dyes.
And our merged output becomes …
- Red + Green Technicolor, merged.
- Red + Green Technicolor, merged and adjusted.
As a further adjustment, we might re-introduce the Green channel as a Key layer.
This adds a lot of density to the image, and can make for quite a nice variation, depending on the base image.
Another thing to try, replace the Key layer with the color original.
Conclusions
All of this is perhaps more academic than practical. One could conceivably achieve similar results using the more standard techniques of pushing sliders in the channel mixer, or adjusting curves.
To be perfectly honest, though, I’ve been having a lot of fun with this, attempting to replicate not just the look of Technicolor, but the process.
But is any of this really useful?
I think so! Applying the “Technicolor” look by such rote, mechanical methods allows us to reach an objective point in our process well before we start making subjective processing choices.
Those shooting on Fuji’s recent X-series cameras have also fallen in love with the unique textural qualities of the in-camera ACROS processing, something that Lightroom’s camera calibrations cannot accurately reproduce. We can use techniques such as this to color out-of-camera JPGs, while retaining ACROS’ special sauce.
On that point, I would love for Fuji to introduce an ACROS + BLUE FILTER simulation at some point, as that could theoretically allow us to run the three-strip process entirely using out-of-camera JPGs.
If nothing else, I hope these explorations have been as fun for you as they have been for me, and that you might find some joy or practical use in applying these techniques to your own images.
Photoshop Actions
The download includes 12 actions in total, divided evenly between the two-strip process described in this article, and the three-strip process in our previous article, Explorations in Technicolor. The video below demonstrates how to use the actions.