I vaguely recall seeing The Wizard of Oz on television as a child, roundabout this time of year, every year, for a lot of years in a row. Here in 2017, there’s no way I could accurately tell you the number of times I’ve seen the film; the first several viewings, I’m sure, predate my own memory. The film has been omnipresent, so while I have always understood it to be iconic and important to the timeline of cinema, I’ve always just taken it for granted.
But a recent video from Vox Media explores the film’s use of Technicolor, and the ways in which the Technicolor process shaped the production of the film. It’s a fascinating deep dive into the reproduction of color, and after seeing it, I couldn’t really get it out of my head. And so, I spent to a fair bit of my weekend delving into Technicolor rabbit holes to come up with a set of Photoshop actions to emulate the process, I hope with some degree of authenticity.
The problem I found when I got to Googling, is that most so-called “Technicolor” tutorials and filters are just lousy, using “Technicolor” as a buzzword for the value of its built-in cachet, meanwhile demonstrating nothing of the actual process that it implies. Instead, we’re given amateurish selective color adjustments, mostly using a single adjustment layer to push a few sliders in the Channel Mixer.
I’m no Photoshop ninja, but I can smell bullshit when I sniff it. Let’s try to do better.
Here’s that video from Vox.
It’s the three-strip method that we’re interested in, as described roundabout 2:28 in this video, where they begin to explain the technical process of separating the image into three channels, dying each channel with its complementary color, then recombining them via dye transfer process into a single frame. I got to thinking how this might be accomplished in Photoshop, and what the end result might look like.
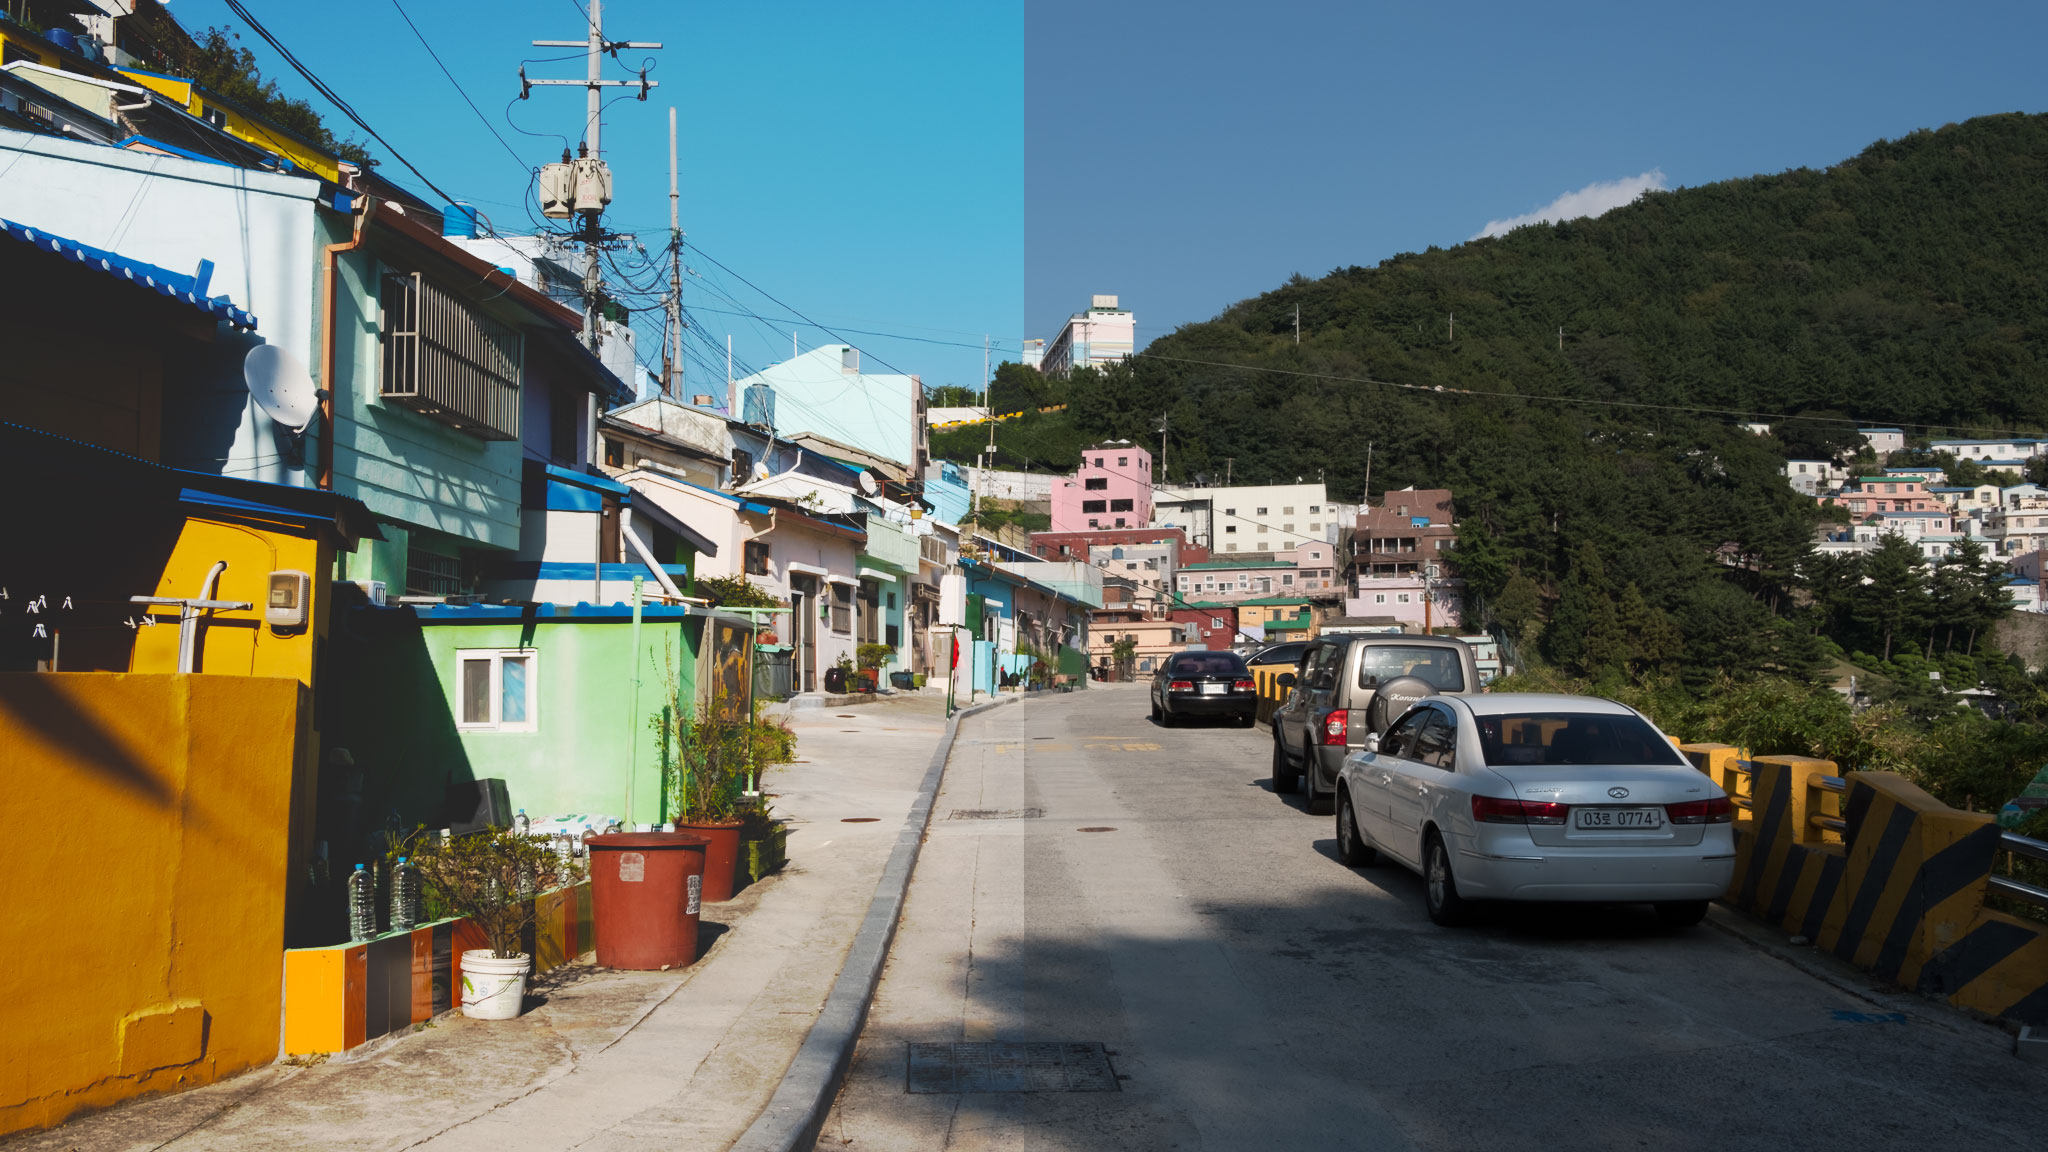
For our working image, I’ve chosen this shot from a recent trip to Busan. I went down there back in October to attend a wedding, and visited this neighborhood known for it’s colorful buildings.
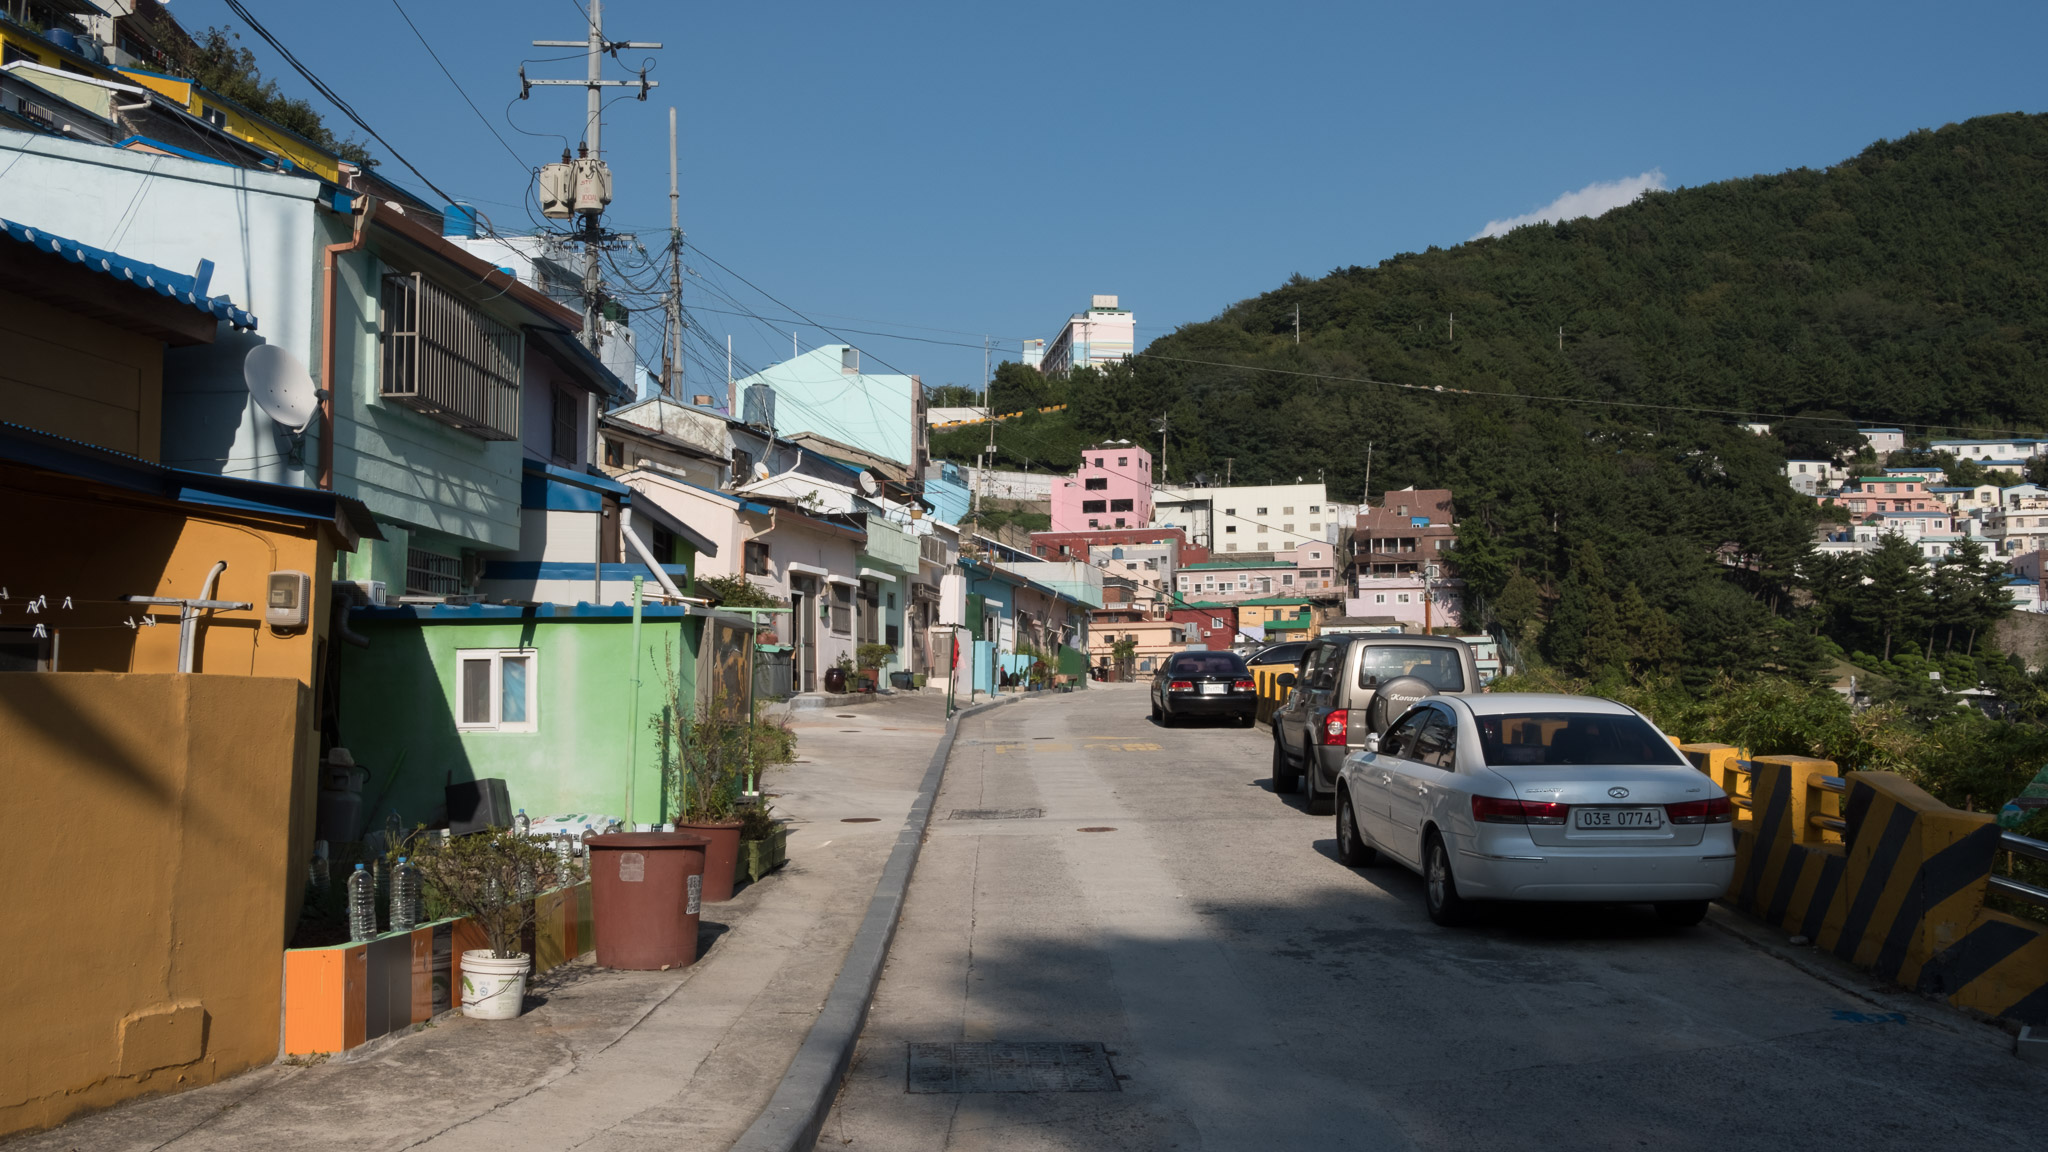
In the end, the technique that I’ve settled on essentially creates a CMYK color model within the RGB color space of our image.
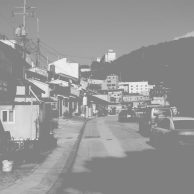
First step, get into Photoshop’s Channels panel. Copy and paste each of the Red, Green and Blue channels into separate layers that we can edit.
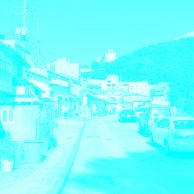
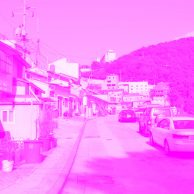
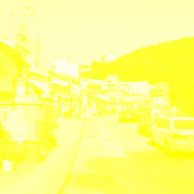
Next, we dye the new layers each their complementary color. We do this using a Solid Color adjustment layer, applied to each channel layer as a clipping mask and using the Lighten blending mode.
Red is dyed Cyan, Green is dyed Magenta, and Blue is dyed Yellow.
We then select each of the channel layers — not the dye layers — and set their blending modes as Multiply, essentially recreating the dye transfer process used to recombine the three strips into a single frame. The end result from our straight “3-Strip Technicolor” action looks like this.
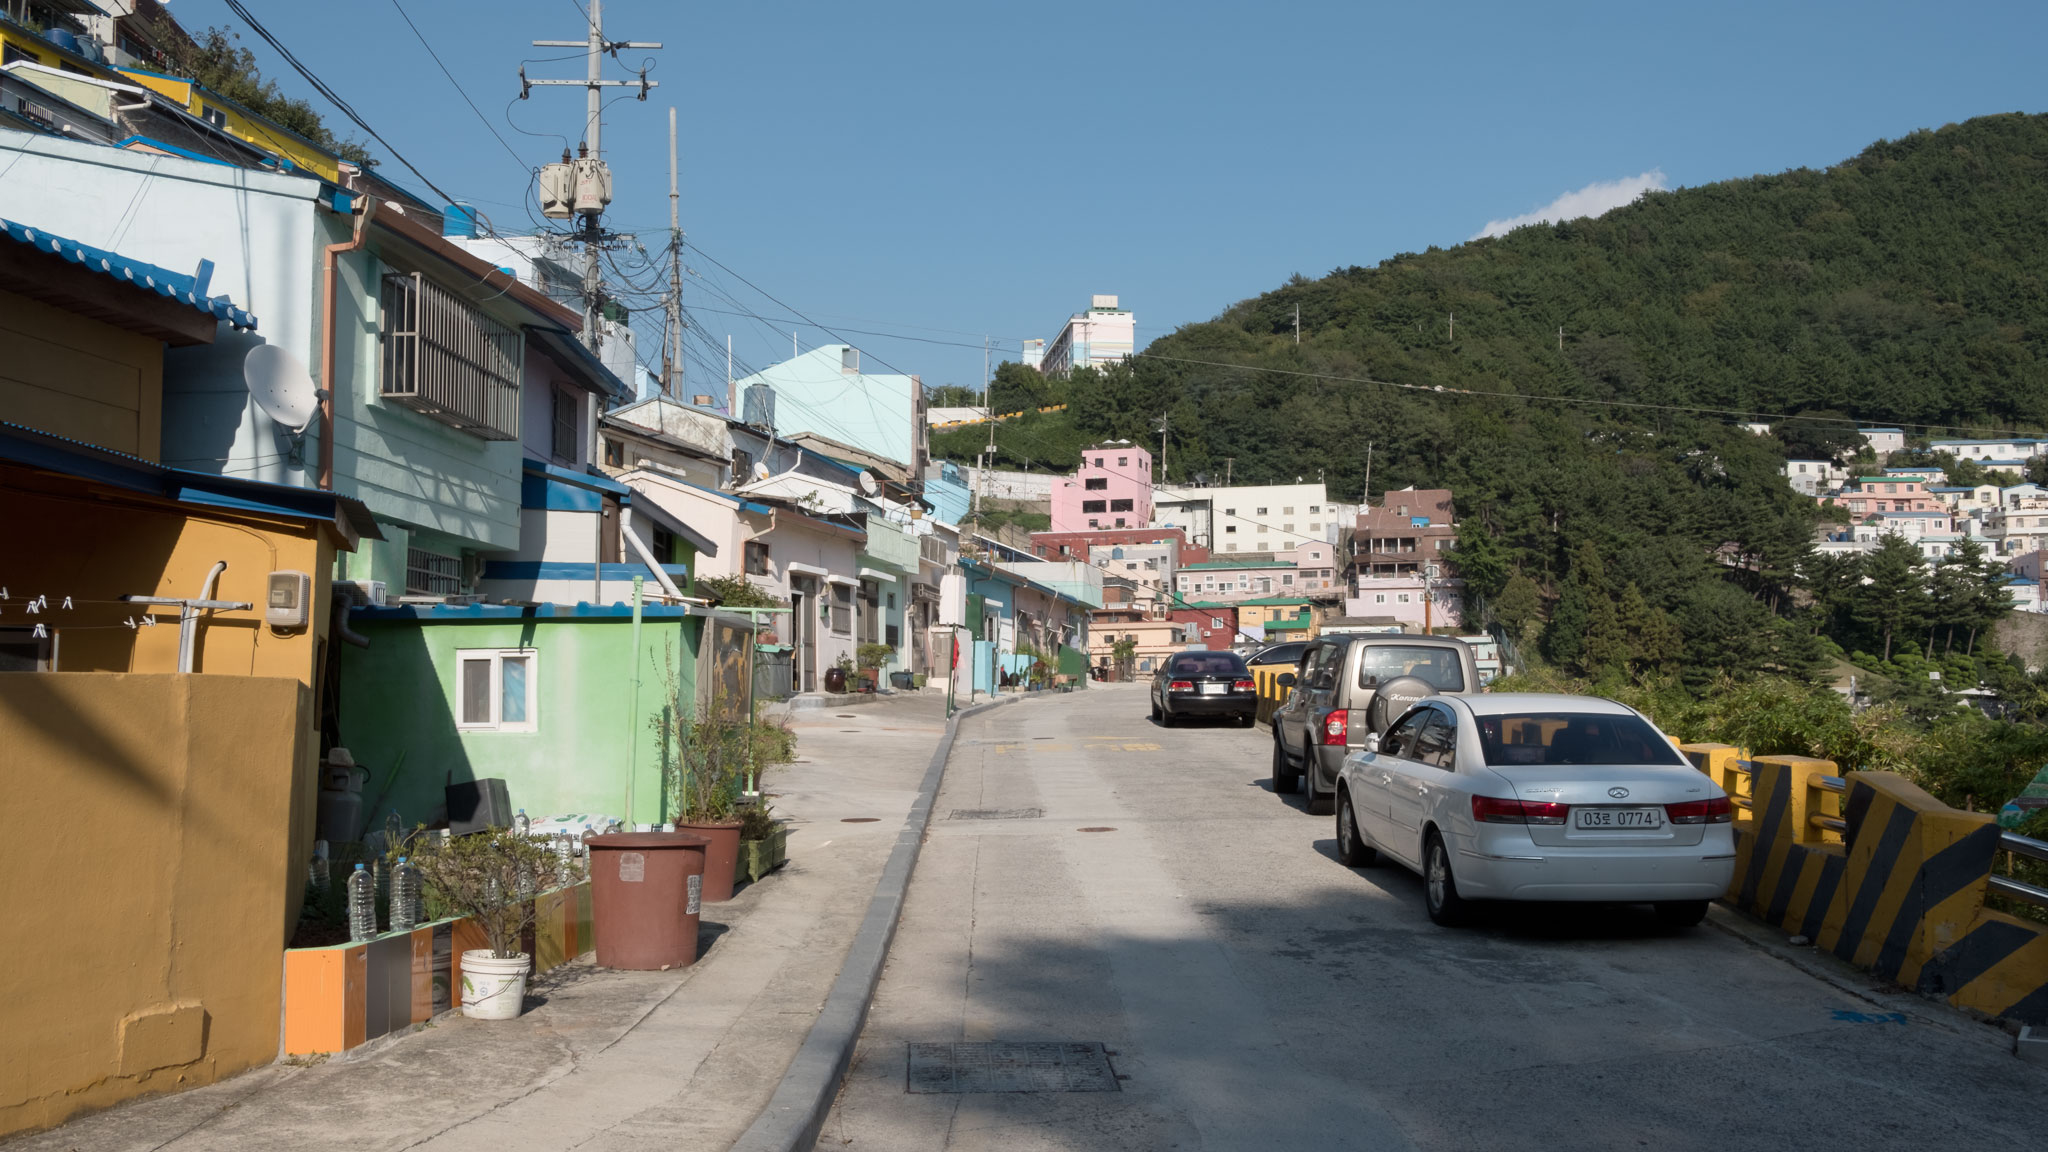

- Busan, South Korea; JPG rendered from our Technicolor process.
- Busan, South Korea; JPG rendered from the unprocessed raw file.
The difference is subtle, almost disappointingly so. But considering the intent of the process was to more naturally recreate colors than earlier processes could do, this probably makes sense. The over-saturation that we now associate with the Technicolor look was likely more to do with the technical limitations of the time, and having to work with physical dyes and medium.
According to the Wikipedia article, there was an earlier version of the process.
In the early days of the process, the receiver film was pre-printed with a 50% black-and-white image derived from the green strip, the so-called Key, or K, record. This procedure was used largely to cover up fine edges in the picture where colors would mix unrealistically (also known as fringing). This additional black increased the contrast of the final print and concealed any fringing. However, overall colorfulness was compromised as a result. In 1944, Technicolor had improved the process to make up for these shortcomings and the K record was, therefore, eliminated.
Our second action, “3-Strip Technicolor + Key”, attempts to emulate this earlier version of the process, throwing a fourth Key frame into the mix, and yielding this result:
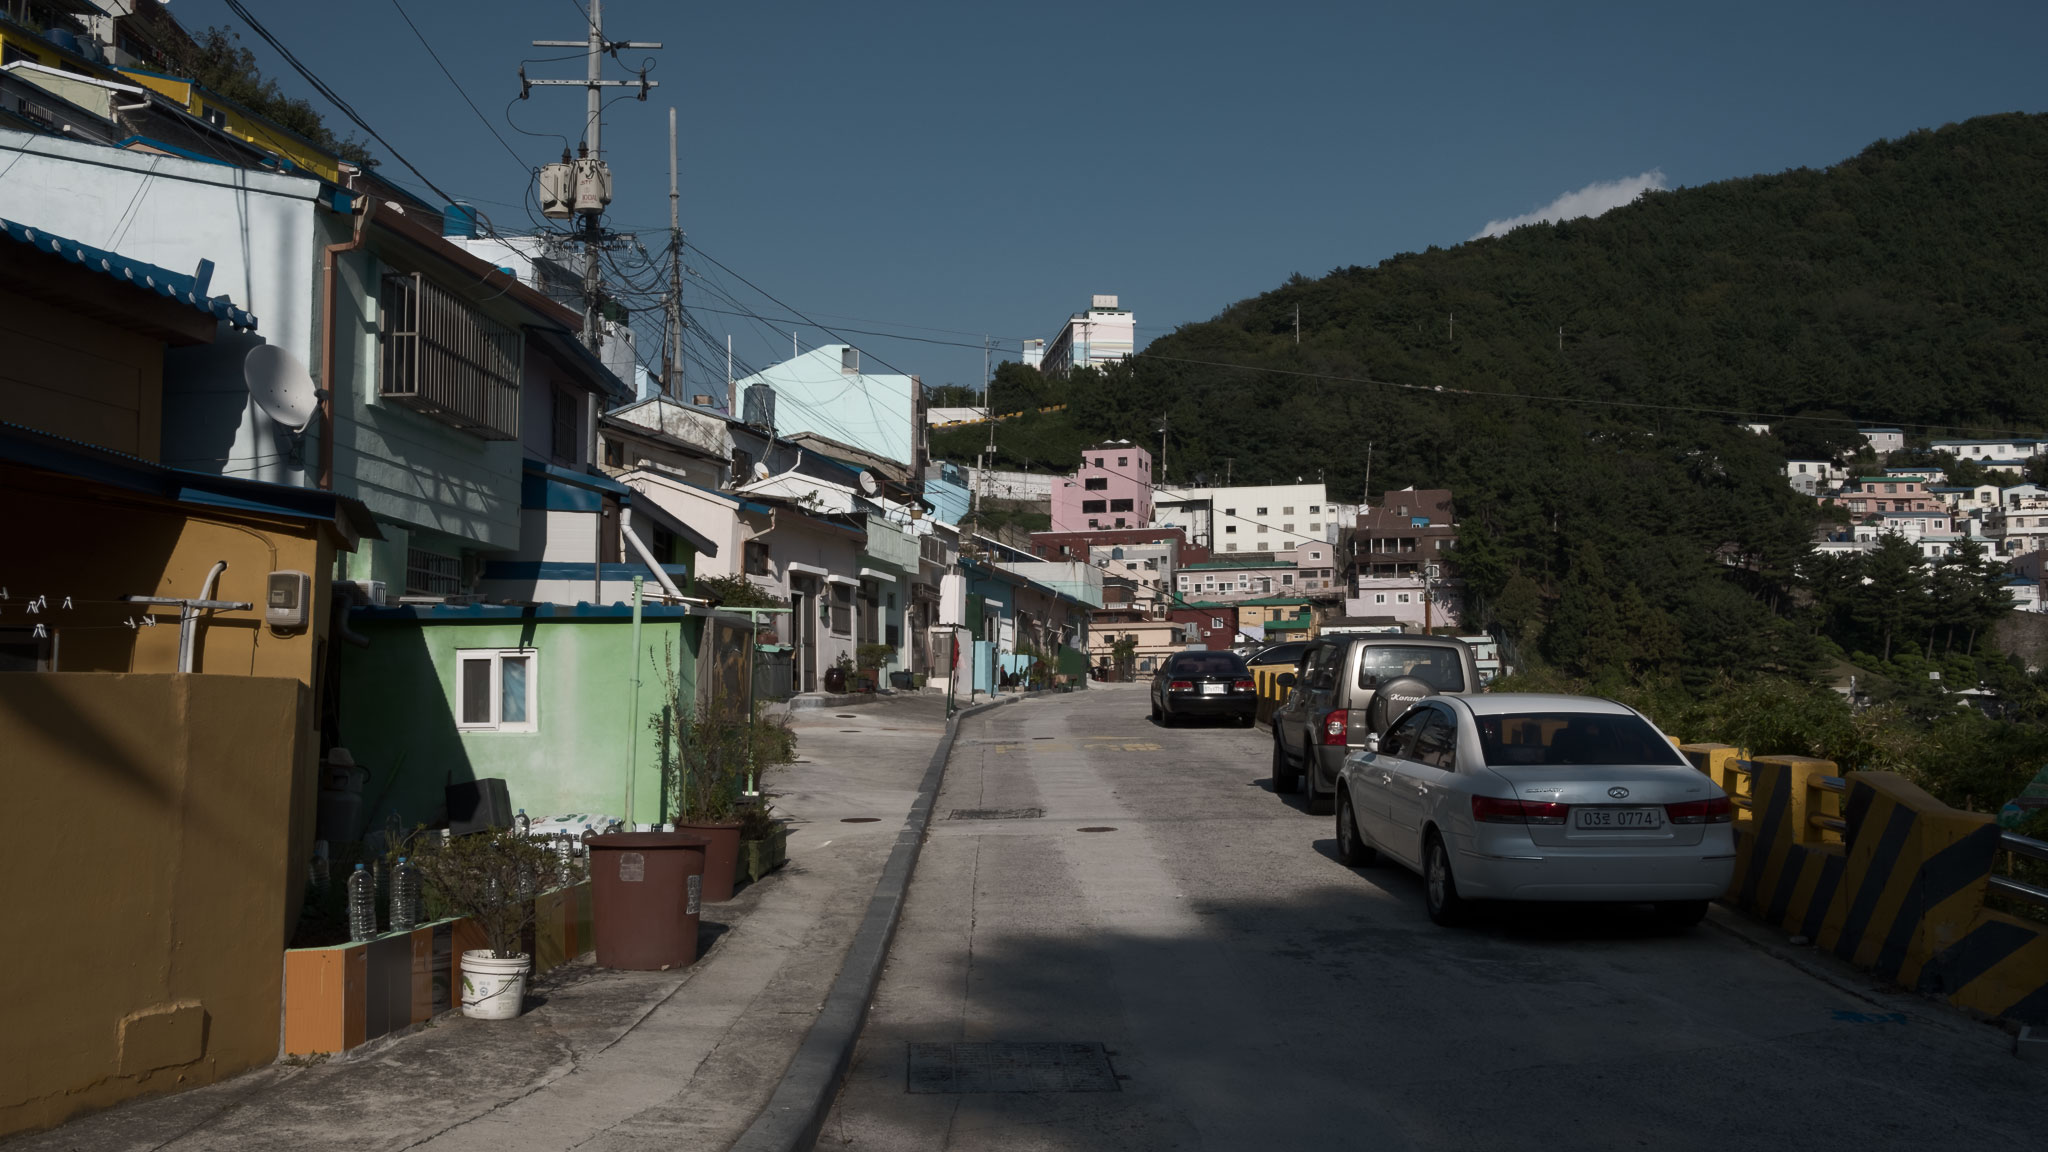

- Rendered via the 3-String Technicolor + Key action.
- Busan, South Korea; JPG rendered from the unprocessed raw file.
I’d say this variation of the action successfully increases contrast, while compromising color. Mission accomplished!
To this point, my interpretation of the Technicolor process has been purely mechanical, an attempt to replicate the channel manipulations that define the process. For this final action, we bring artistic interpretation back into the mix in an effort to replicate the vibrancy of the film-era applications of Technicolor.
To achieve the final look, Vibrancy and Exposure layers are used to punch up our colors, and create a faded film look. I then apply a layer of 50% Gray, using the Color Dodge blend mode to eliminate some density from the image. The final result looks like this:
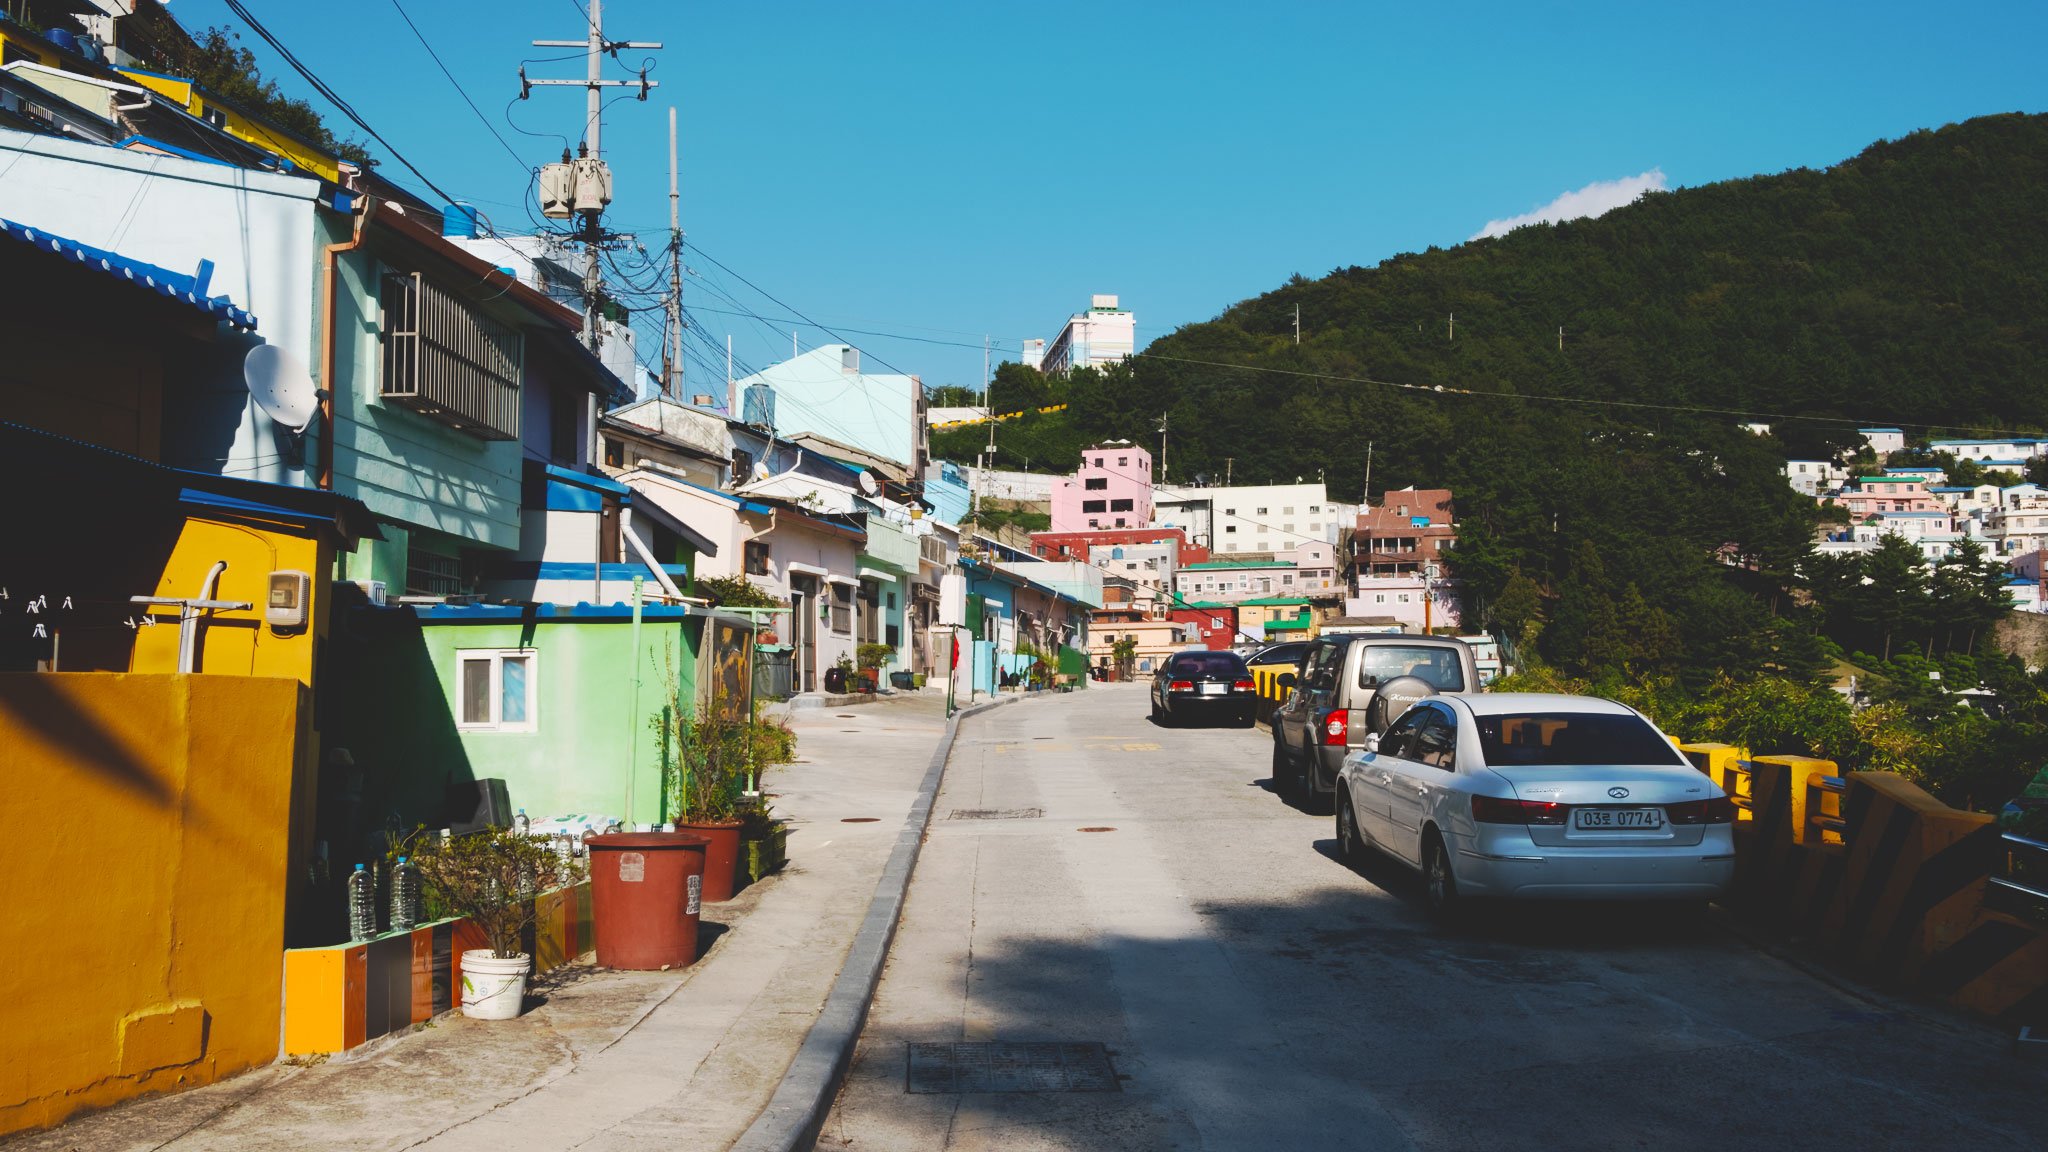

- Busan, South Korea; rendered through our “3-Strip Technicolor Punch-up!” action.
- Busan, South Korea; JPG rendered from the unprocessed raw file.
Photoshop Actions
The download includes 12 actions in total, divided evenly between the two-strip process described in a separate article, and the three-strip process described above. The video below demonstrates how to use the actions.
Download Technicolor Dye Process Photoshop Actions
Example Images
In general, I find these work best on images that are exposure corrected and sharpened prior to application, but otherwise without creative interpretation. Below, some images are processed, some unprocessed, before the “3-Strip Technicolor Punch-up!” action is applied.
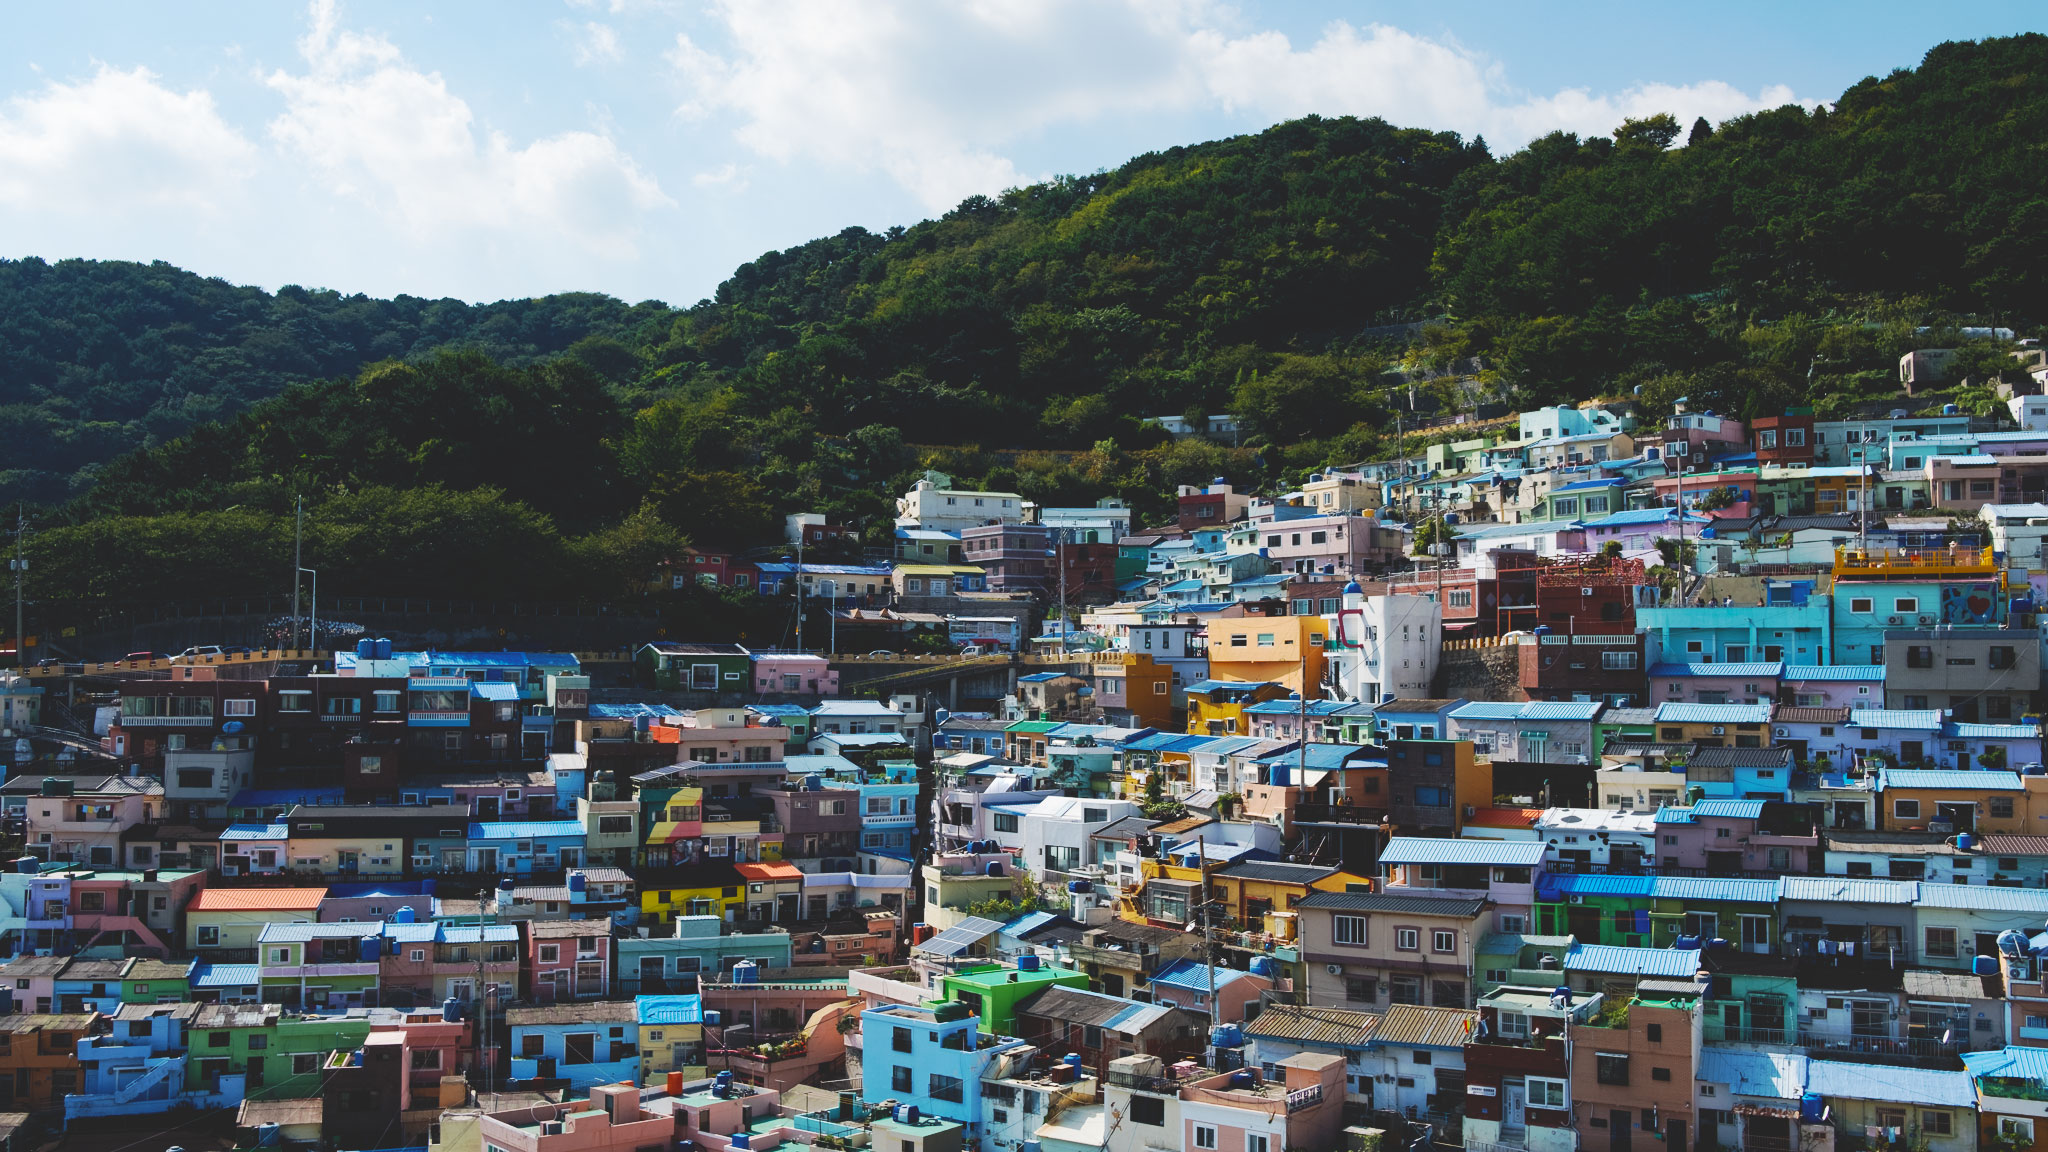
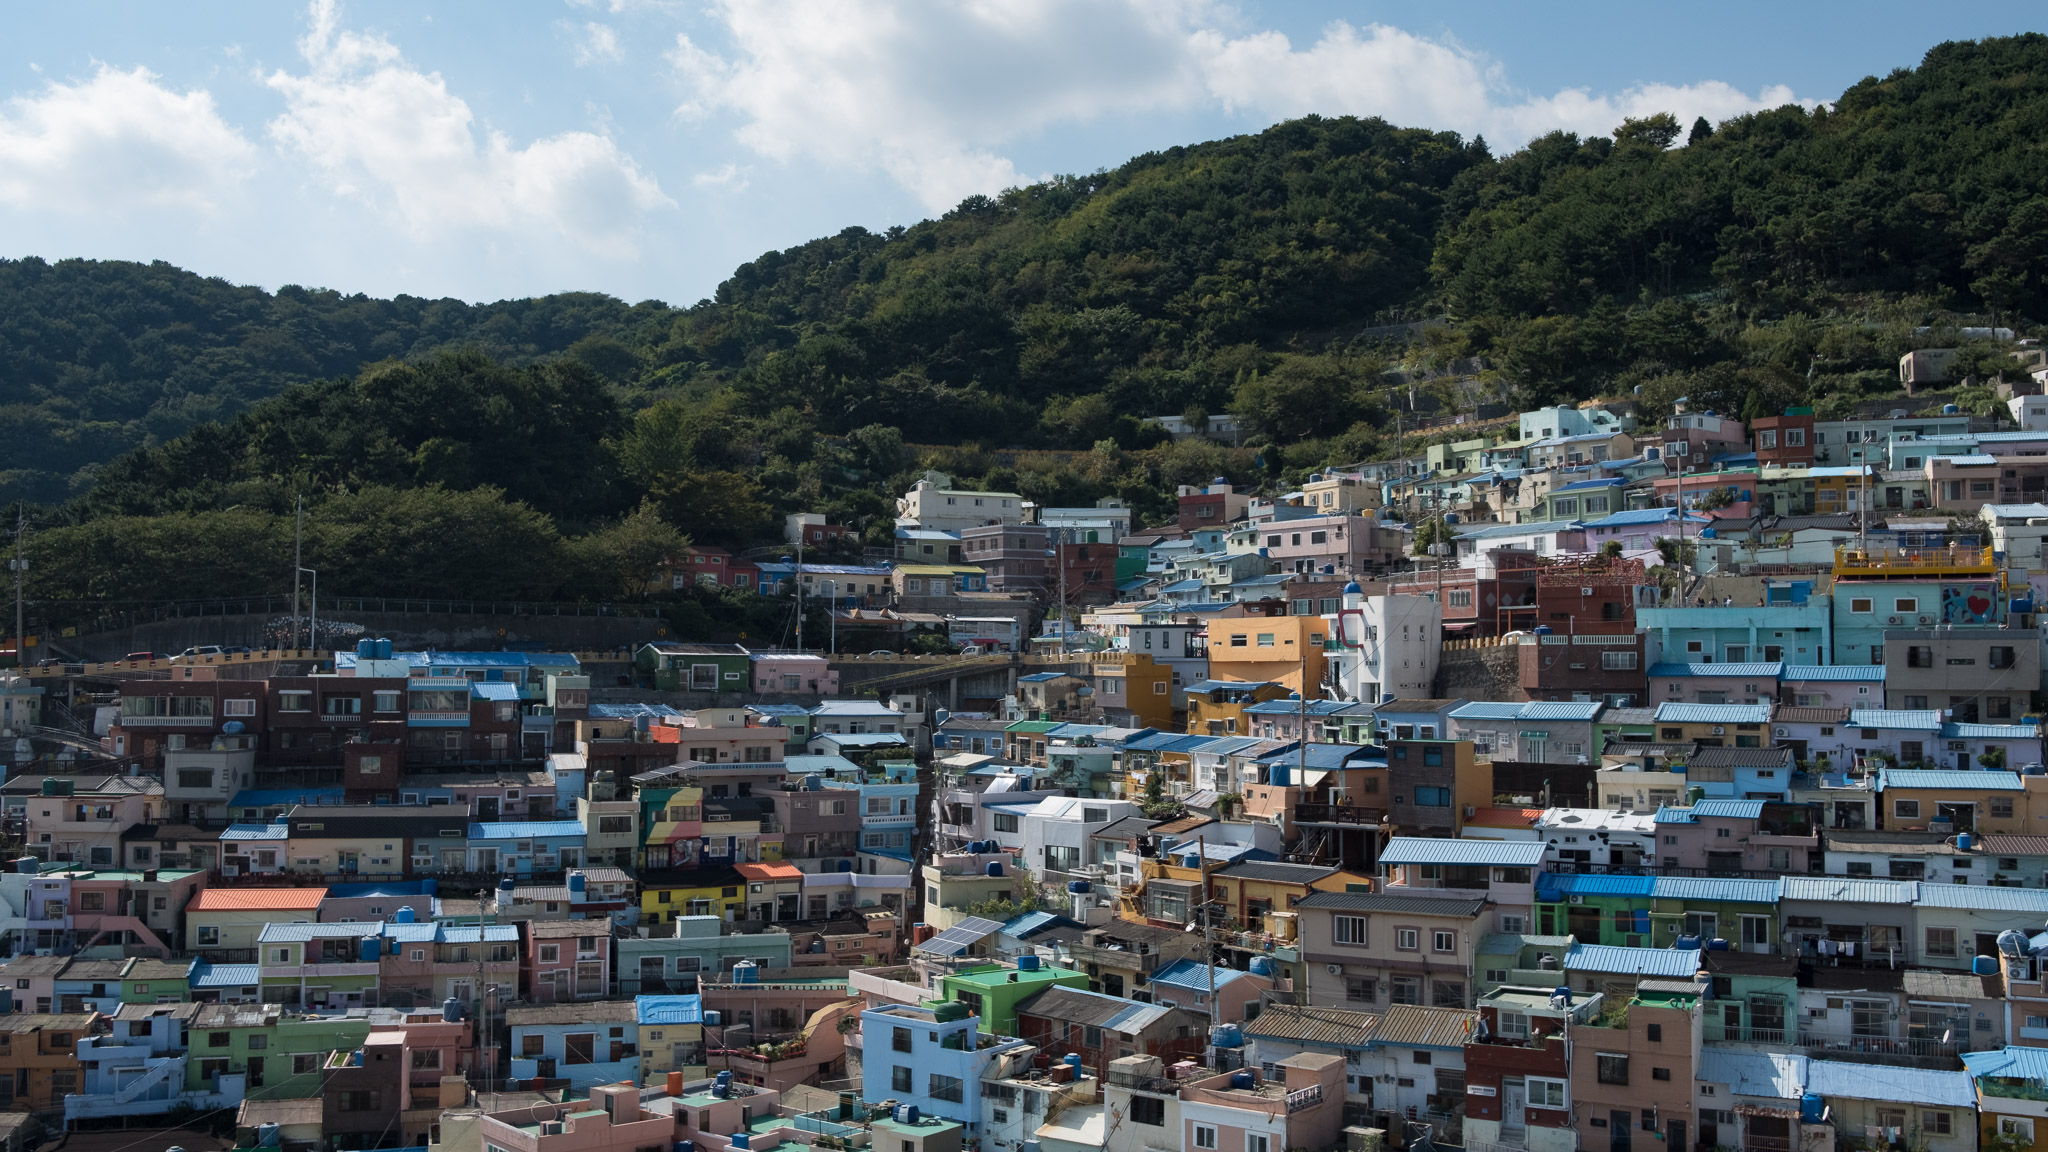
- 3-Strip Technicolor Punch-up!
- Unprocessed raw.
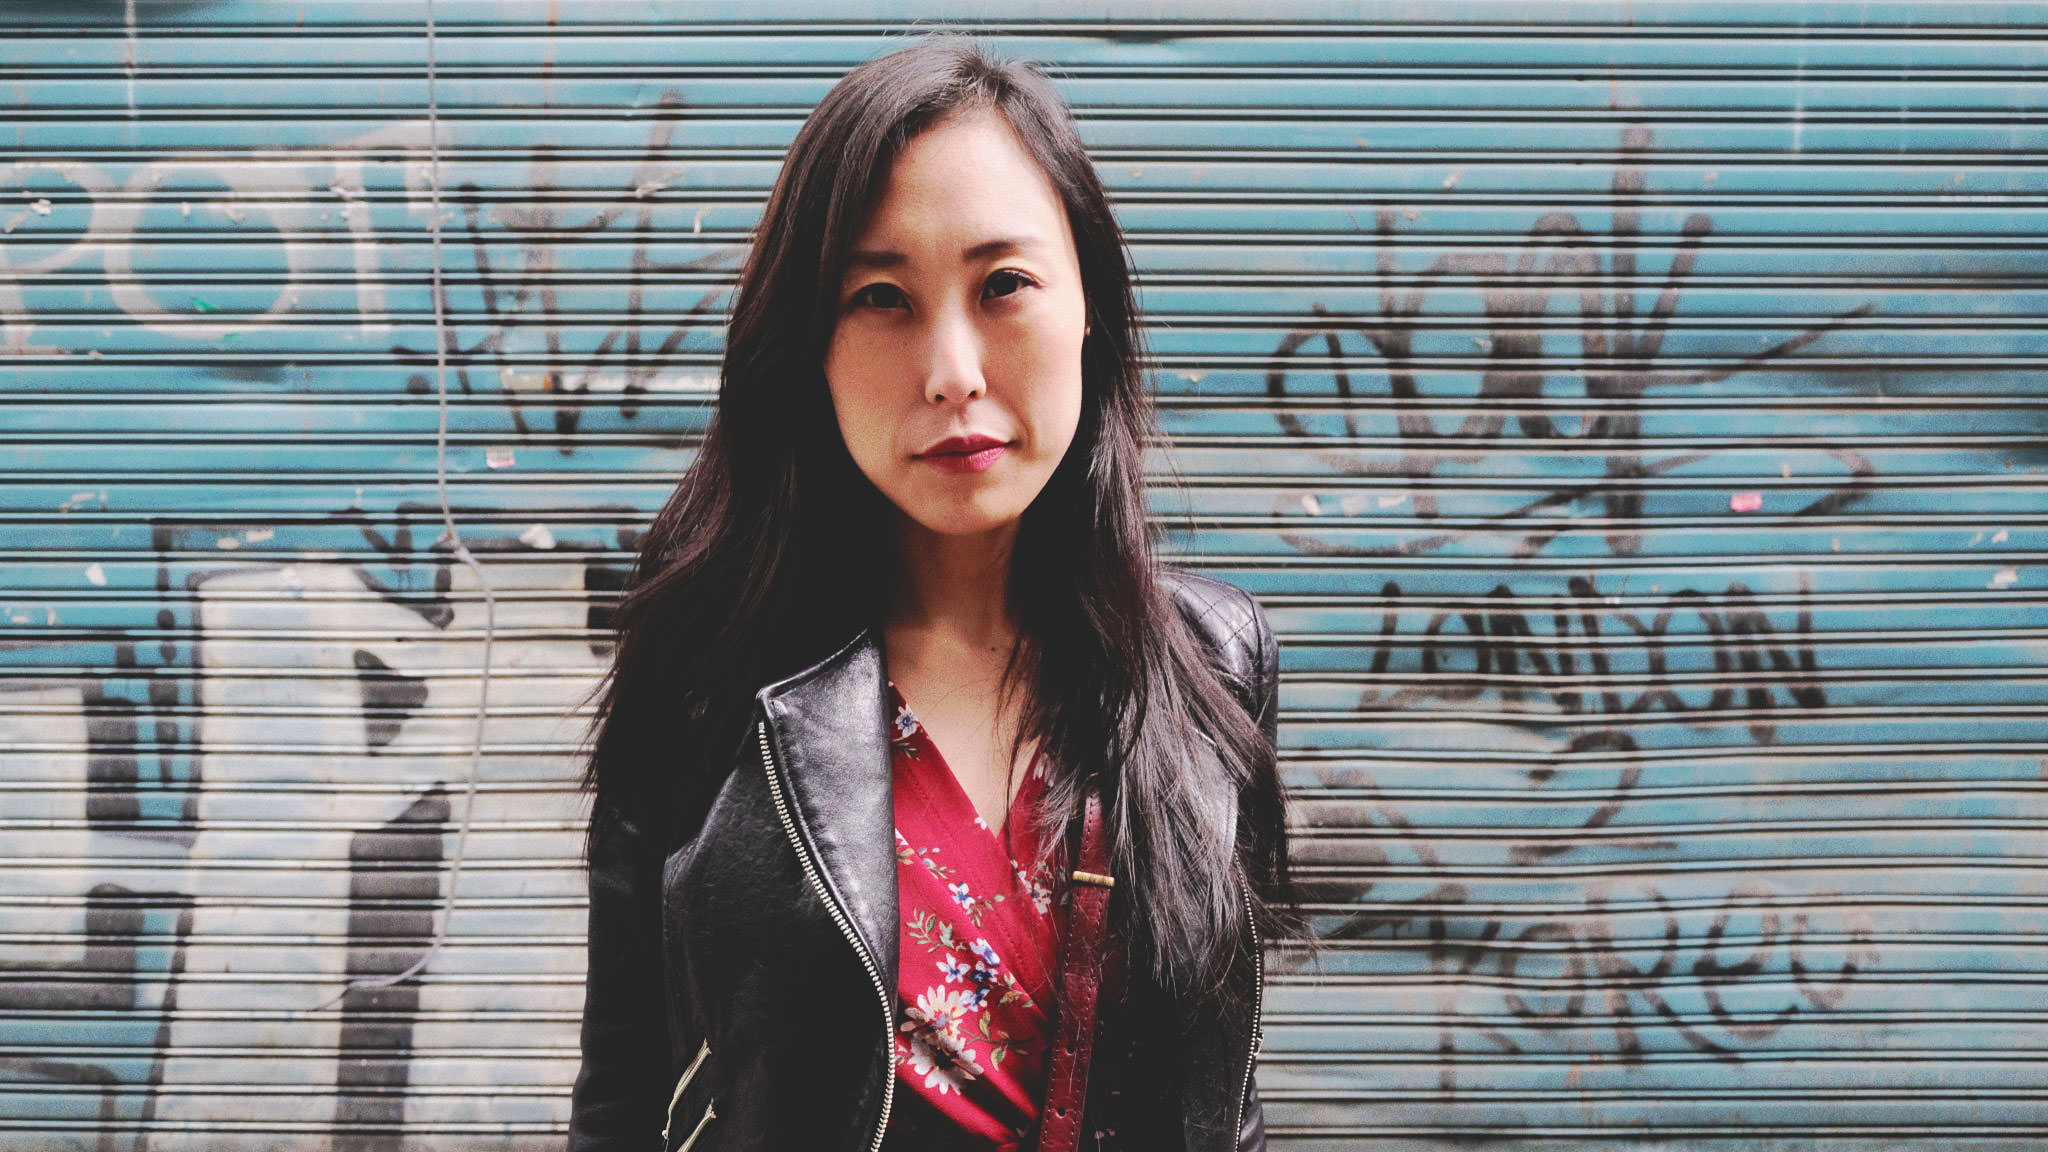
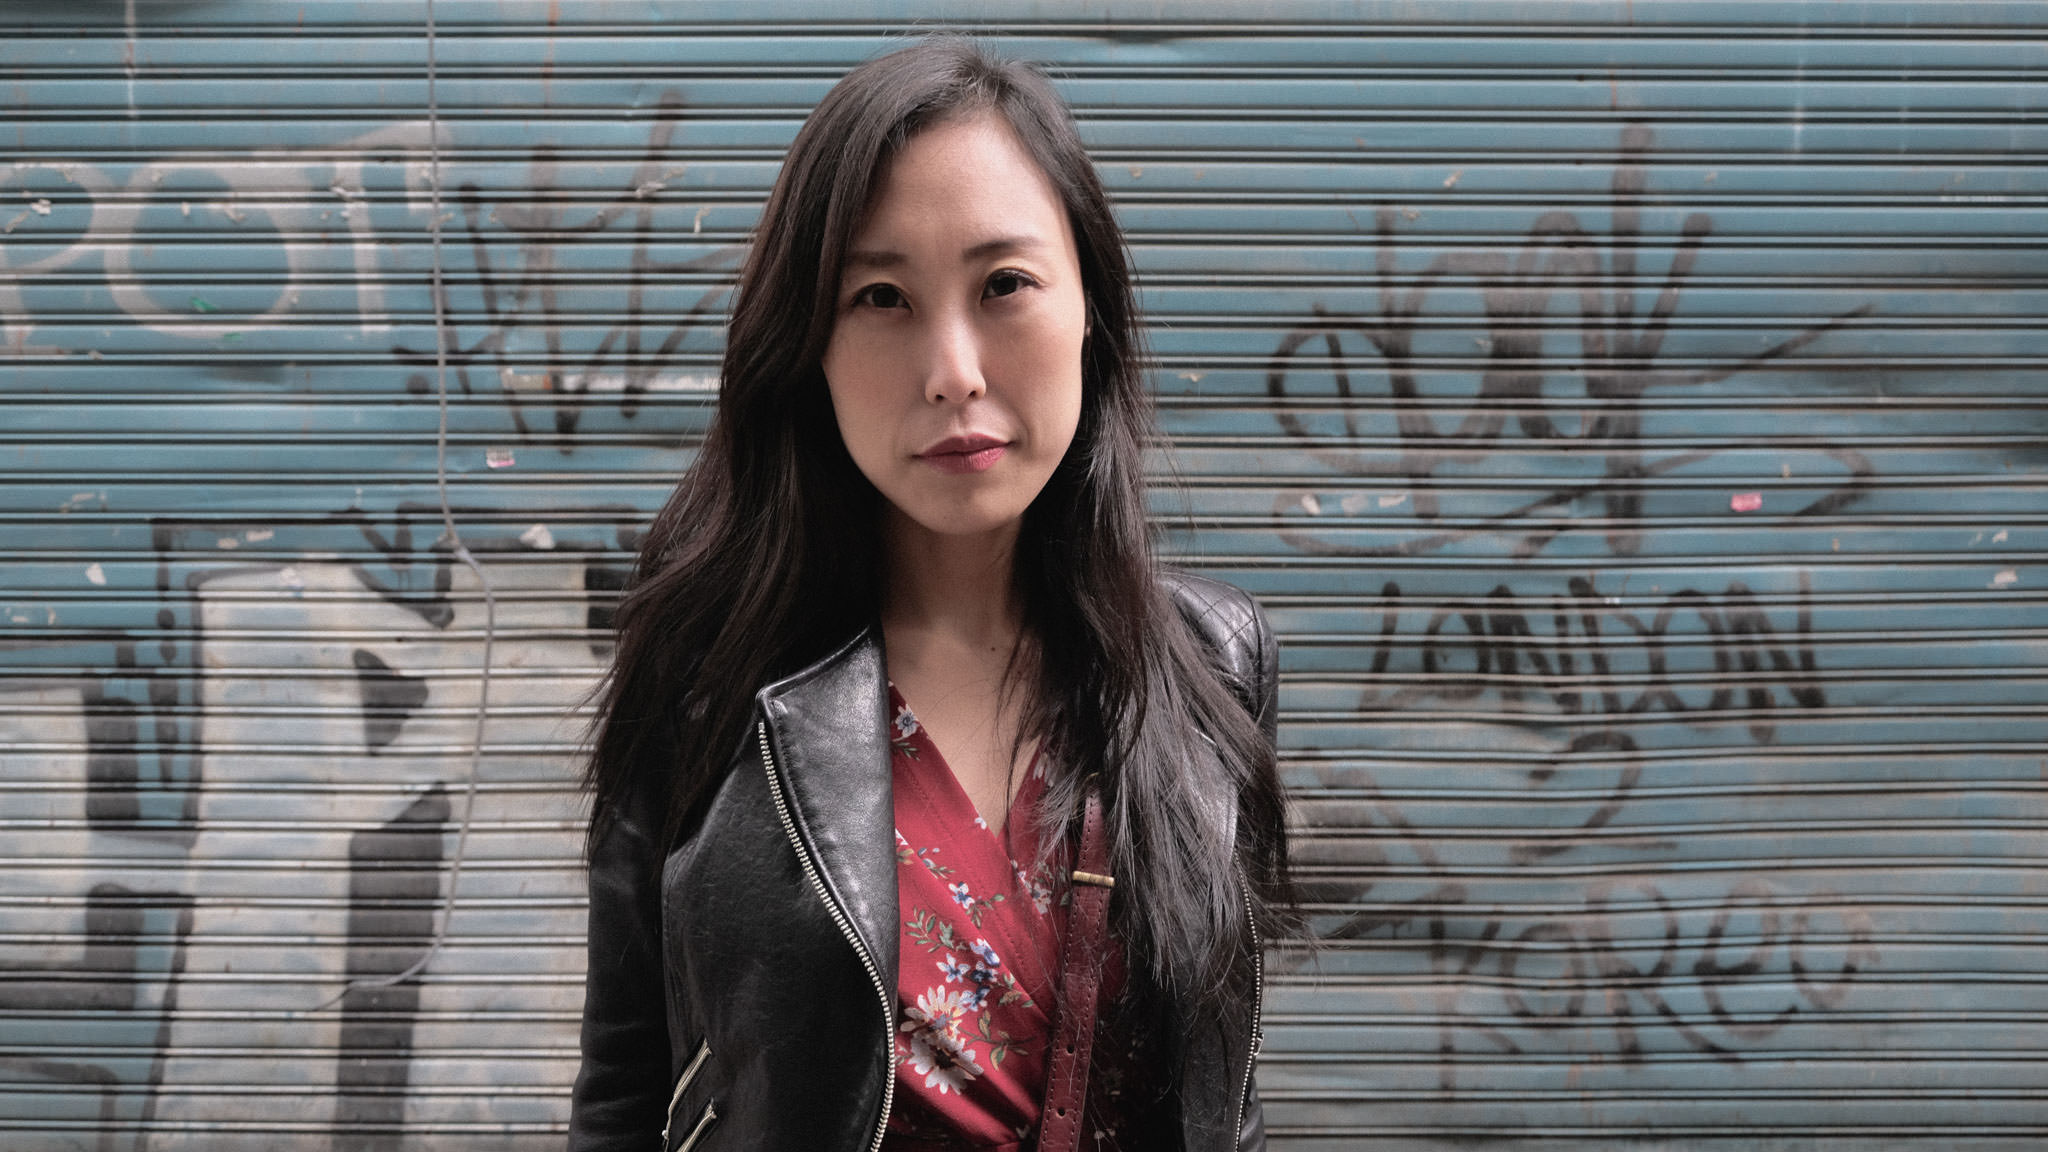
- 3-Strip Technicolor Punch-up!
- Unprocessed raw.
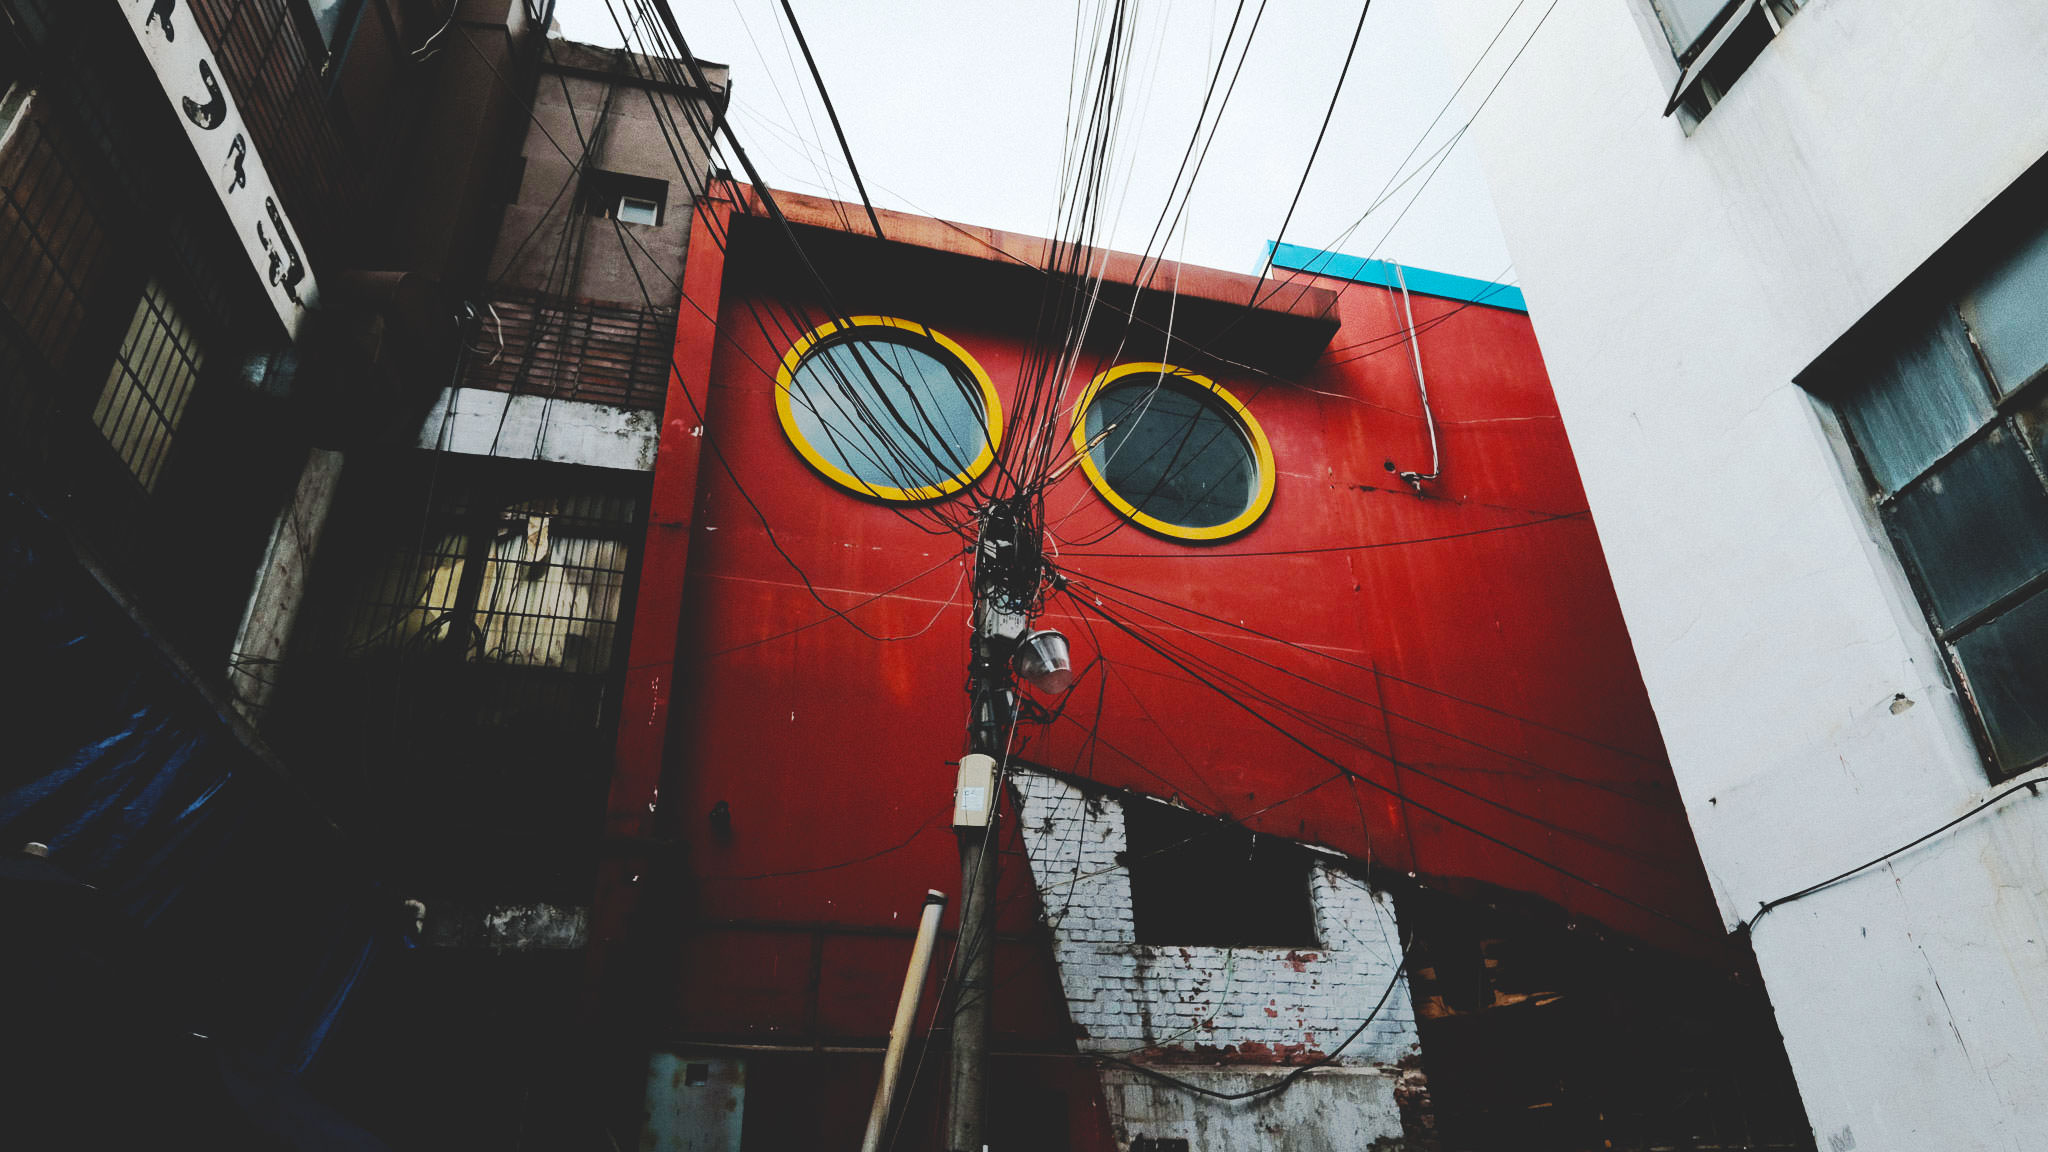
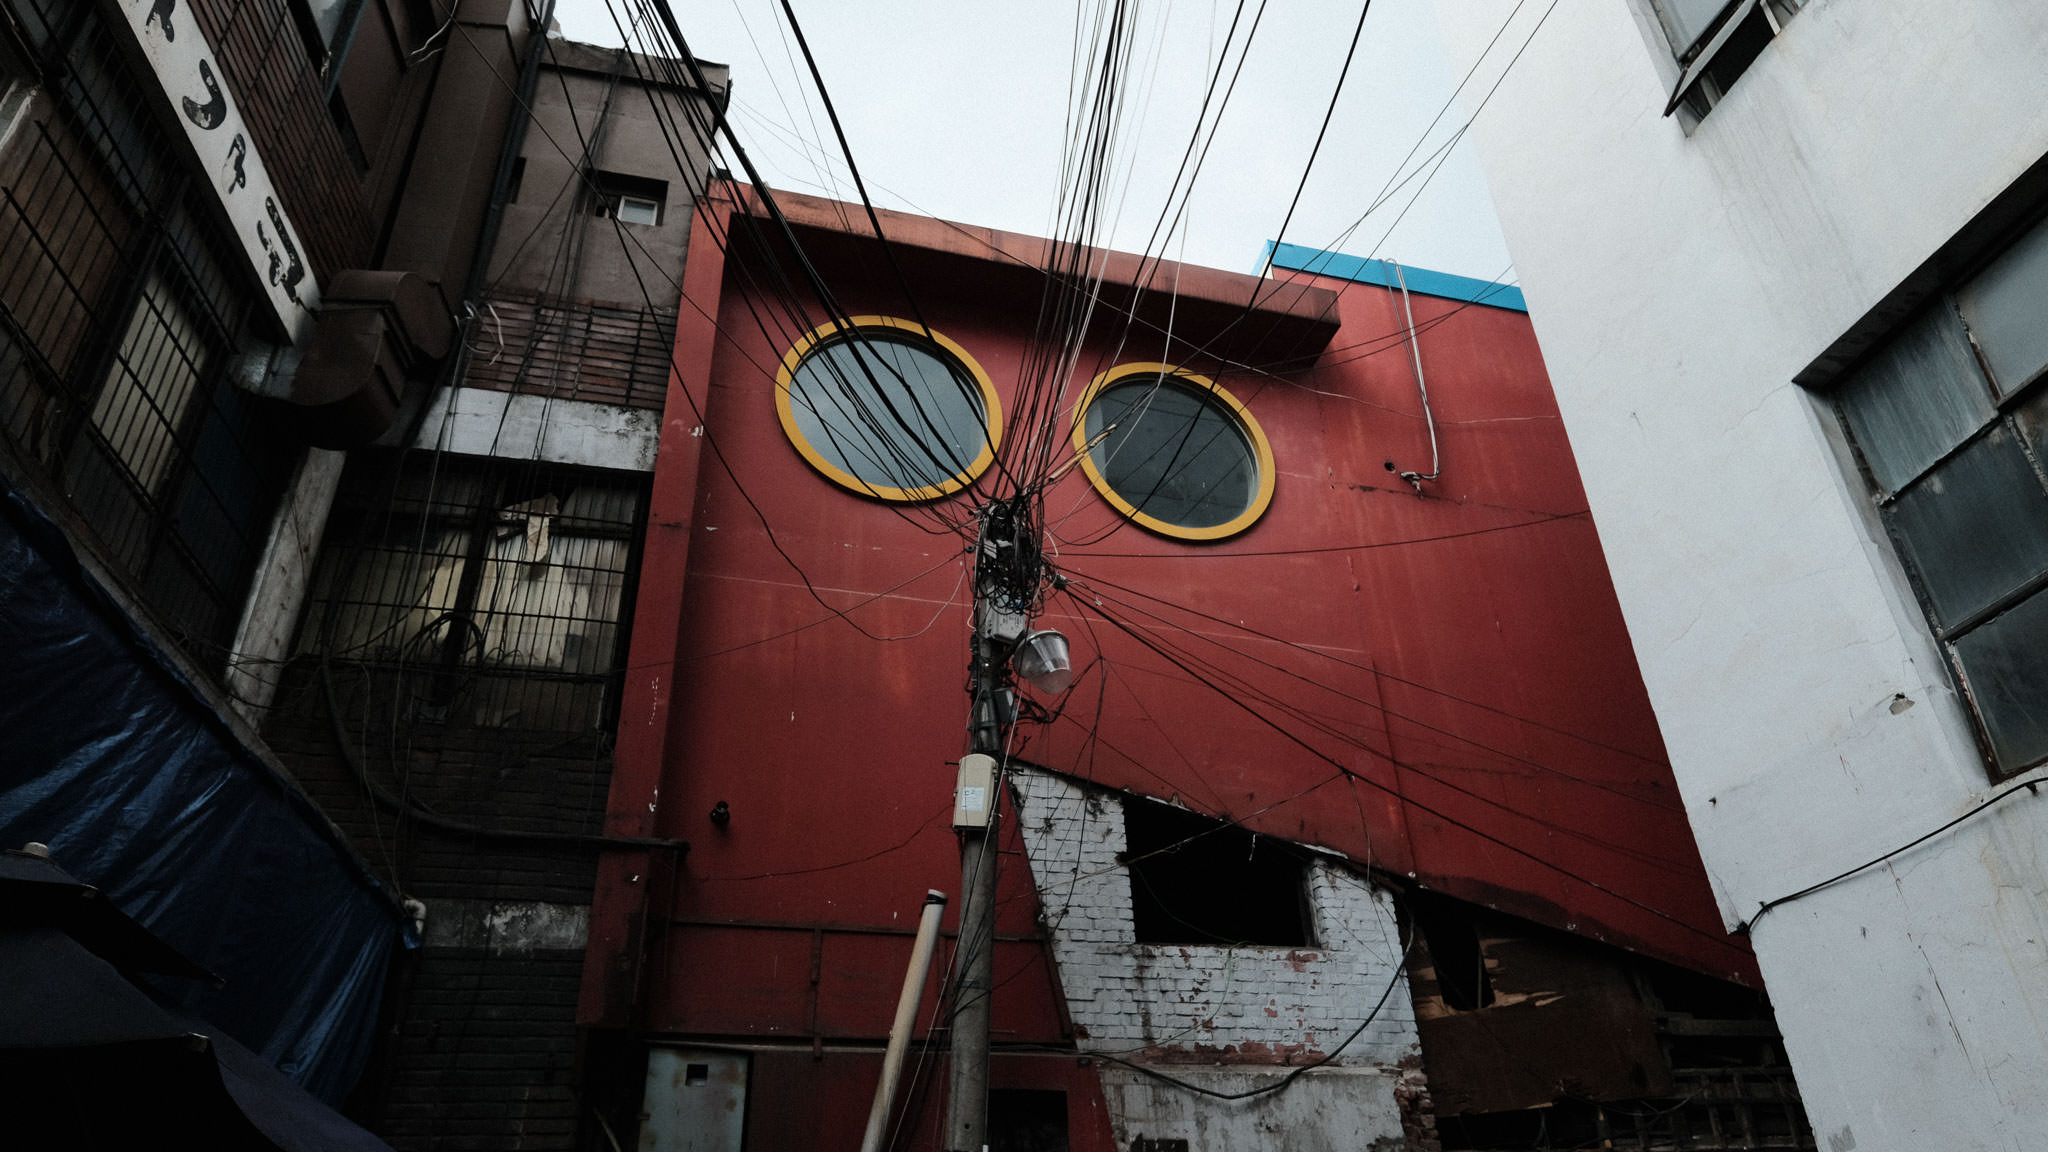
- 3-Strip Technicolor Punch-up!
- Processed raw.
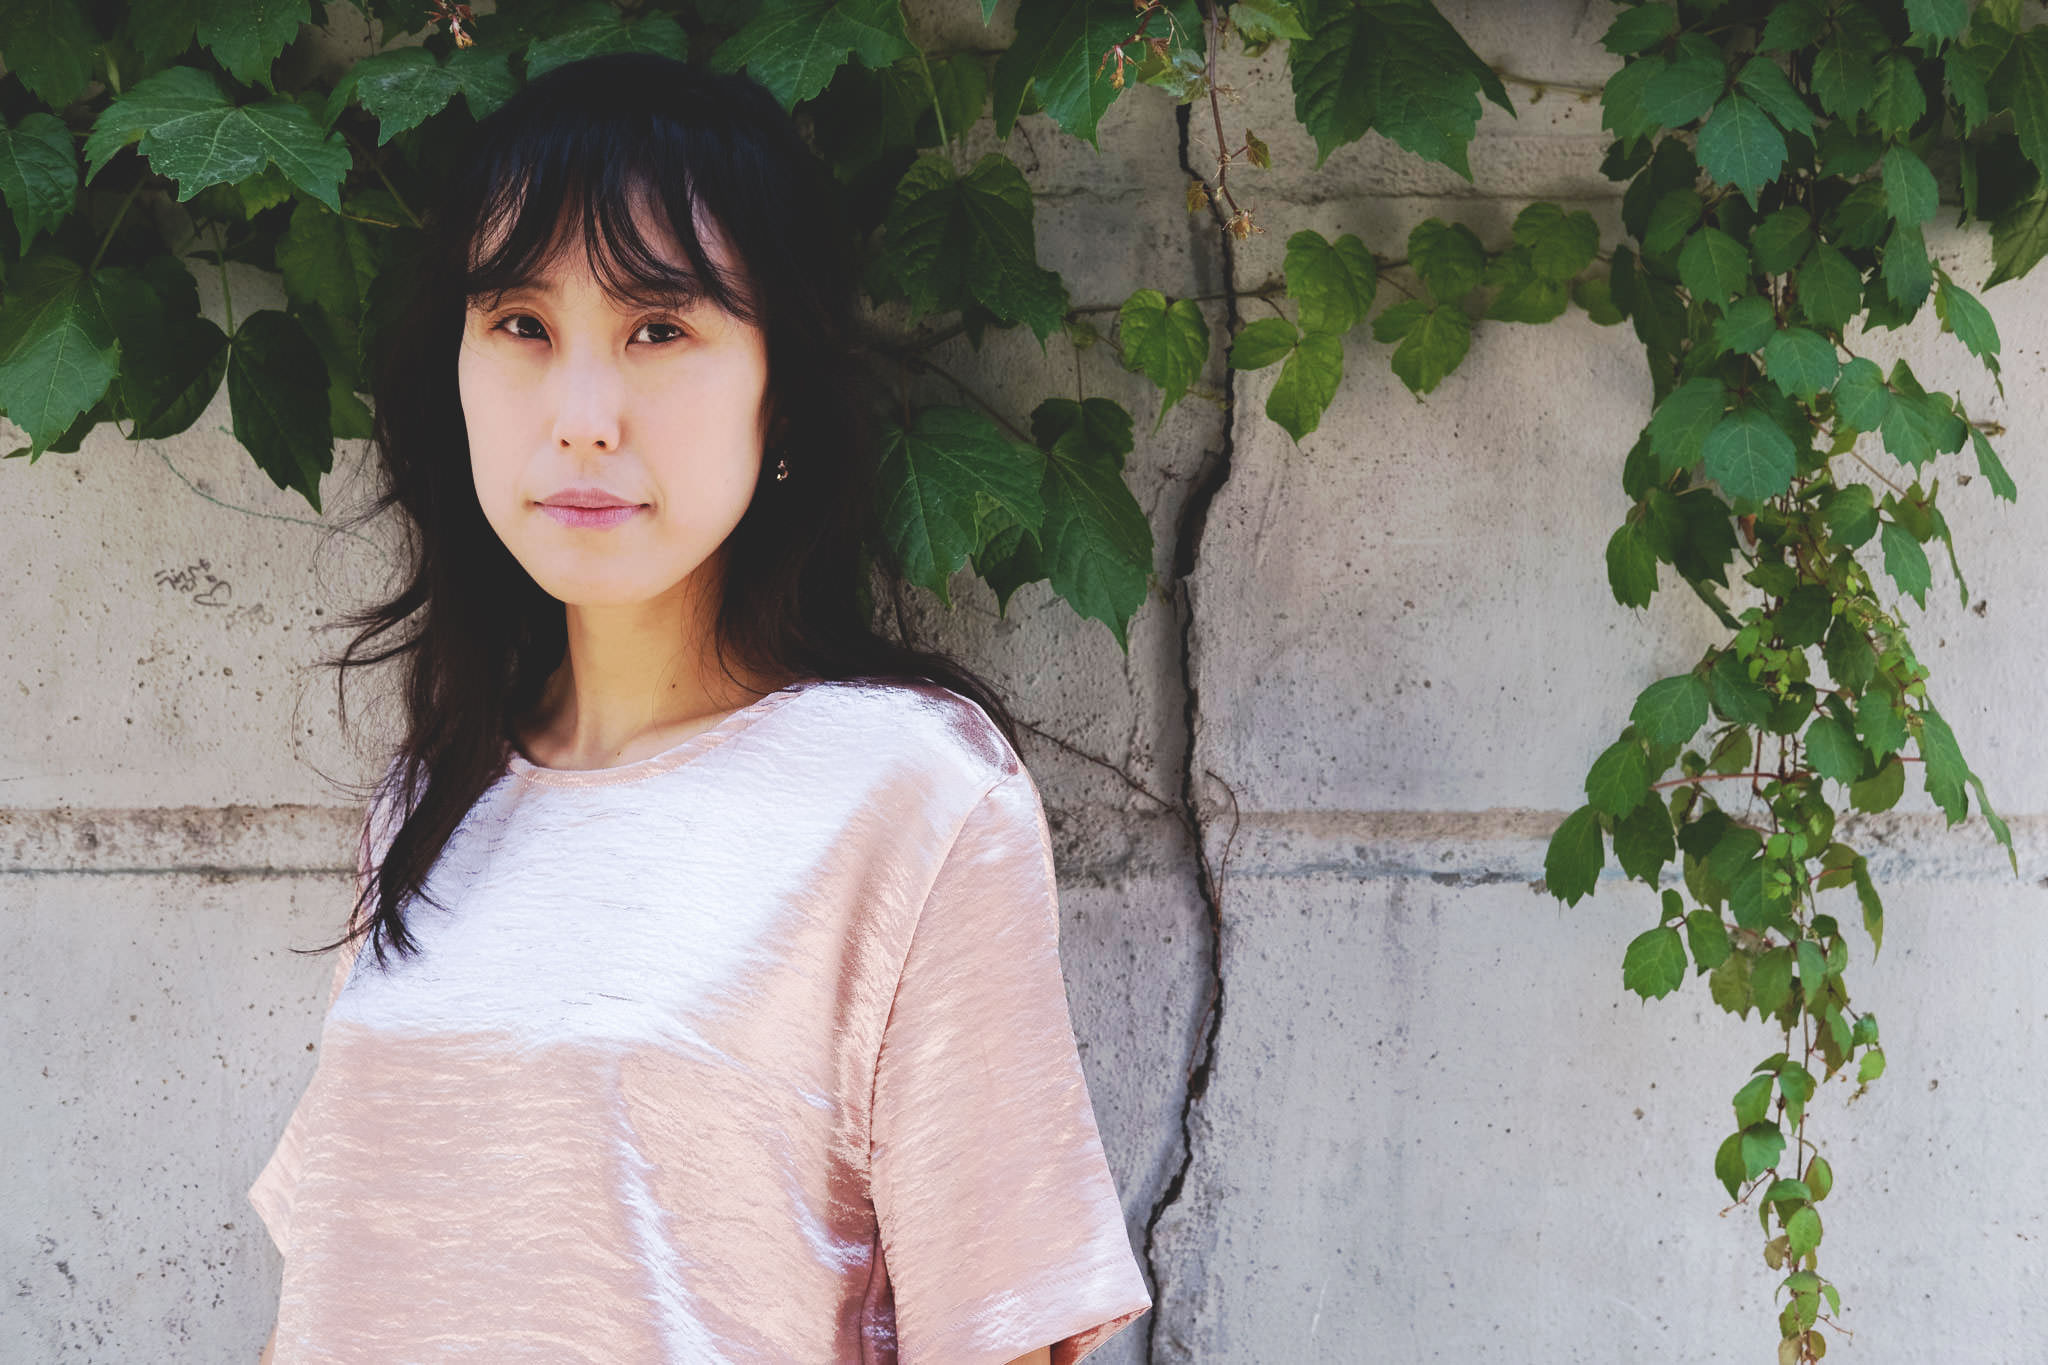
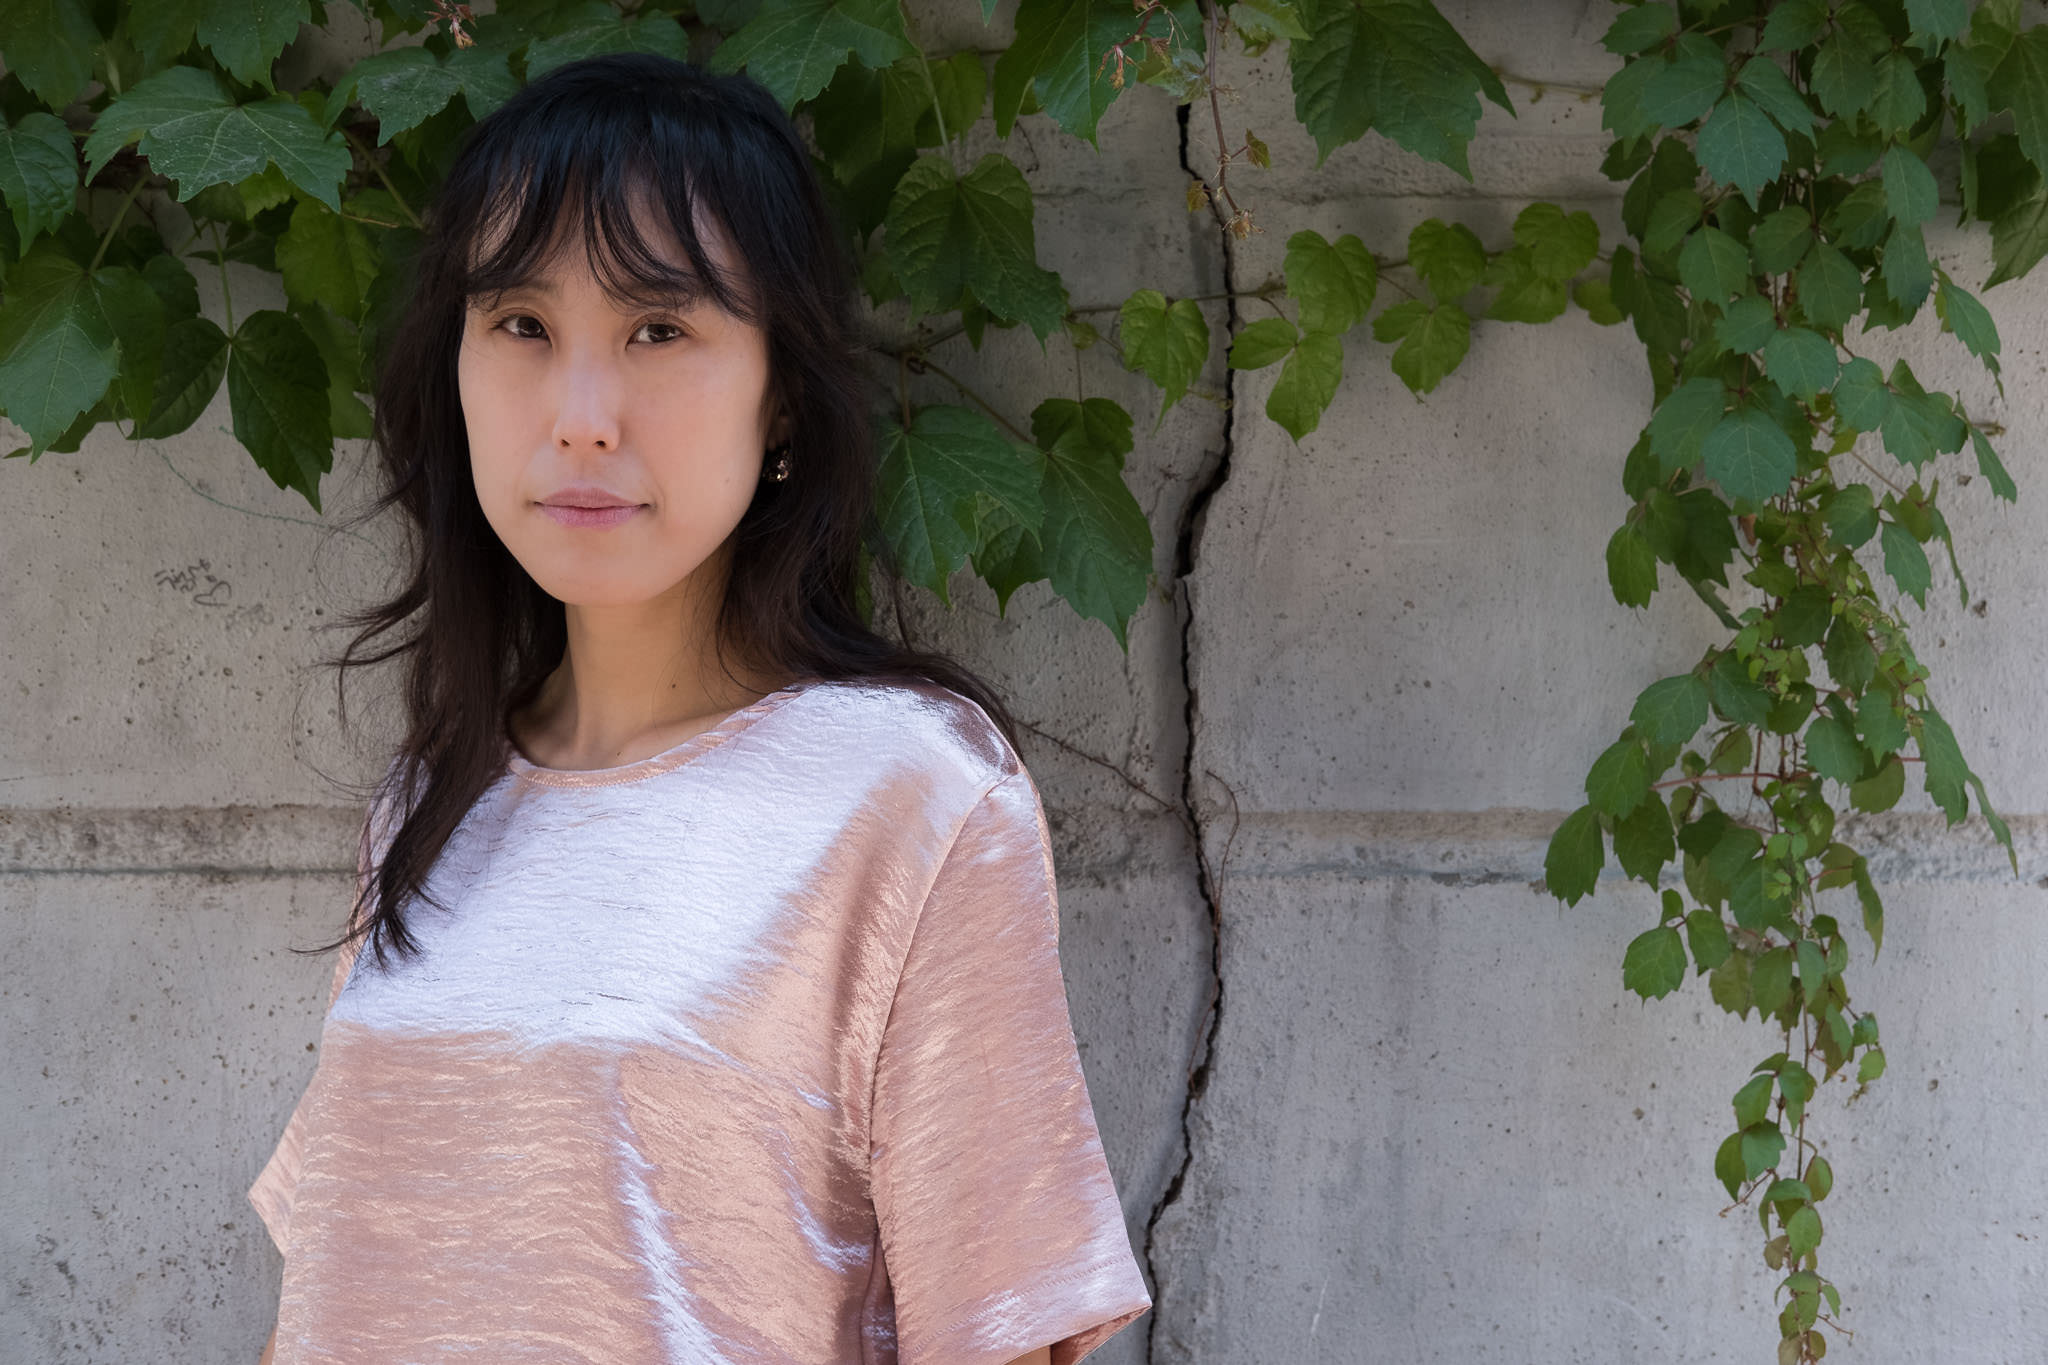
- 3-Strip Technicolor Punch-up!
- Unprocessed raw.
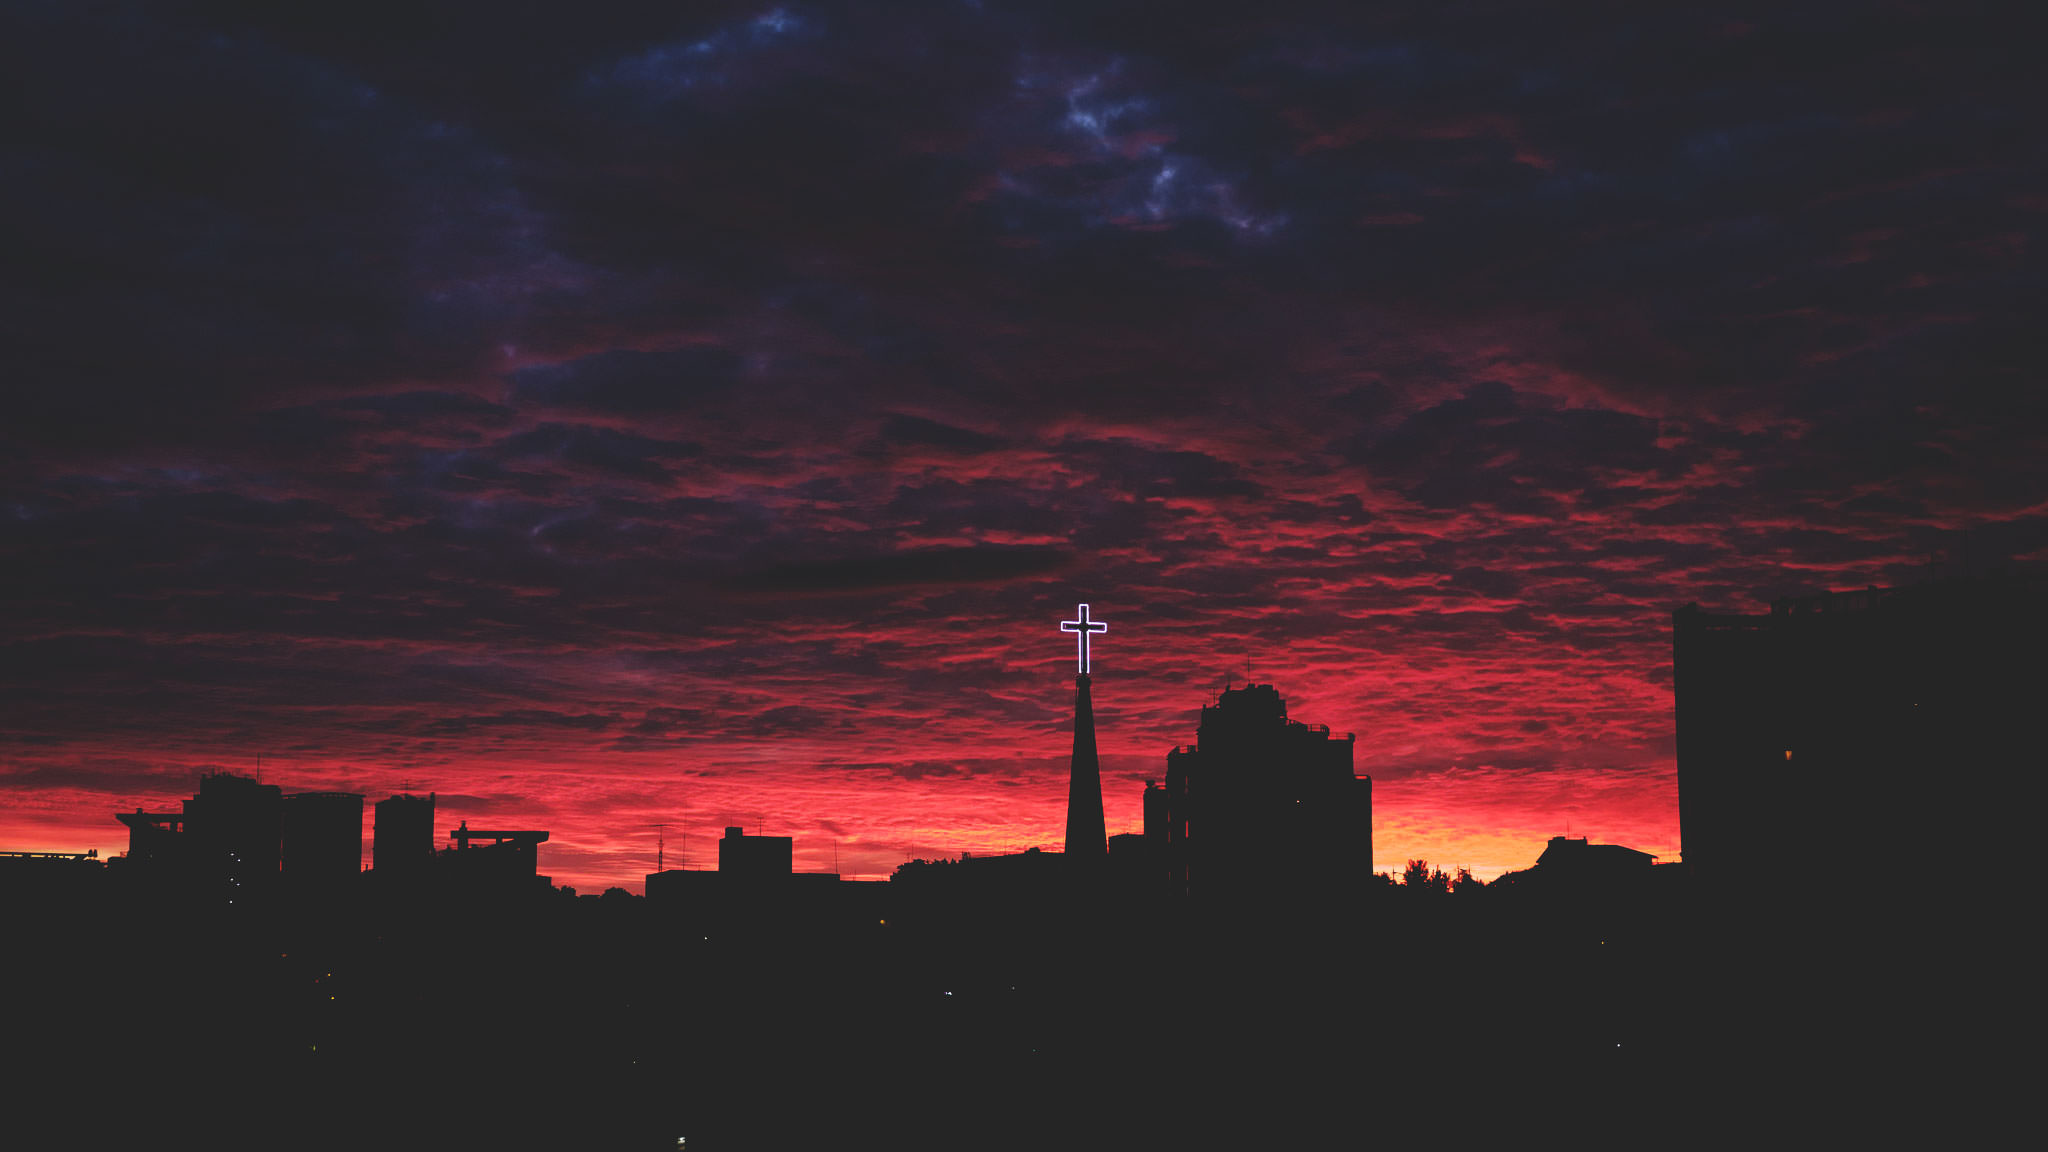
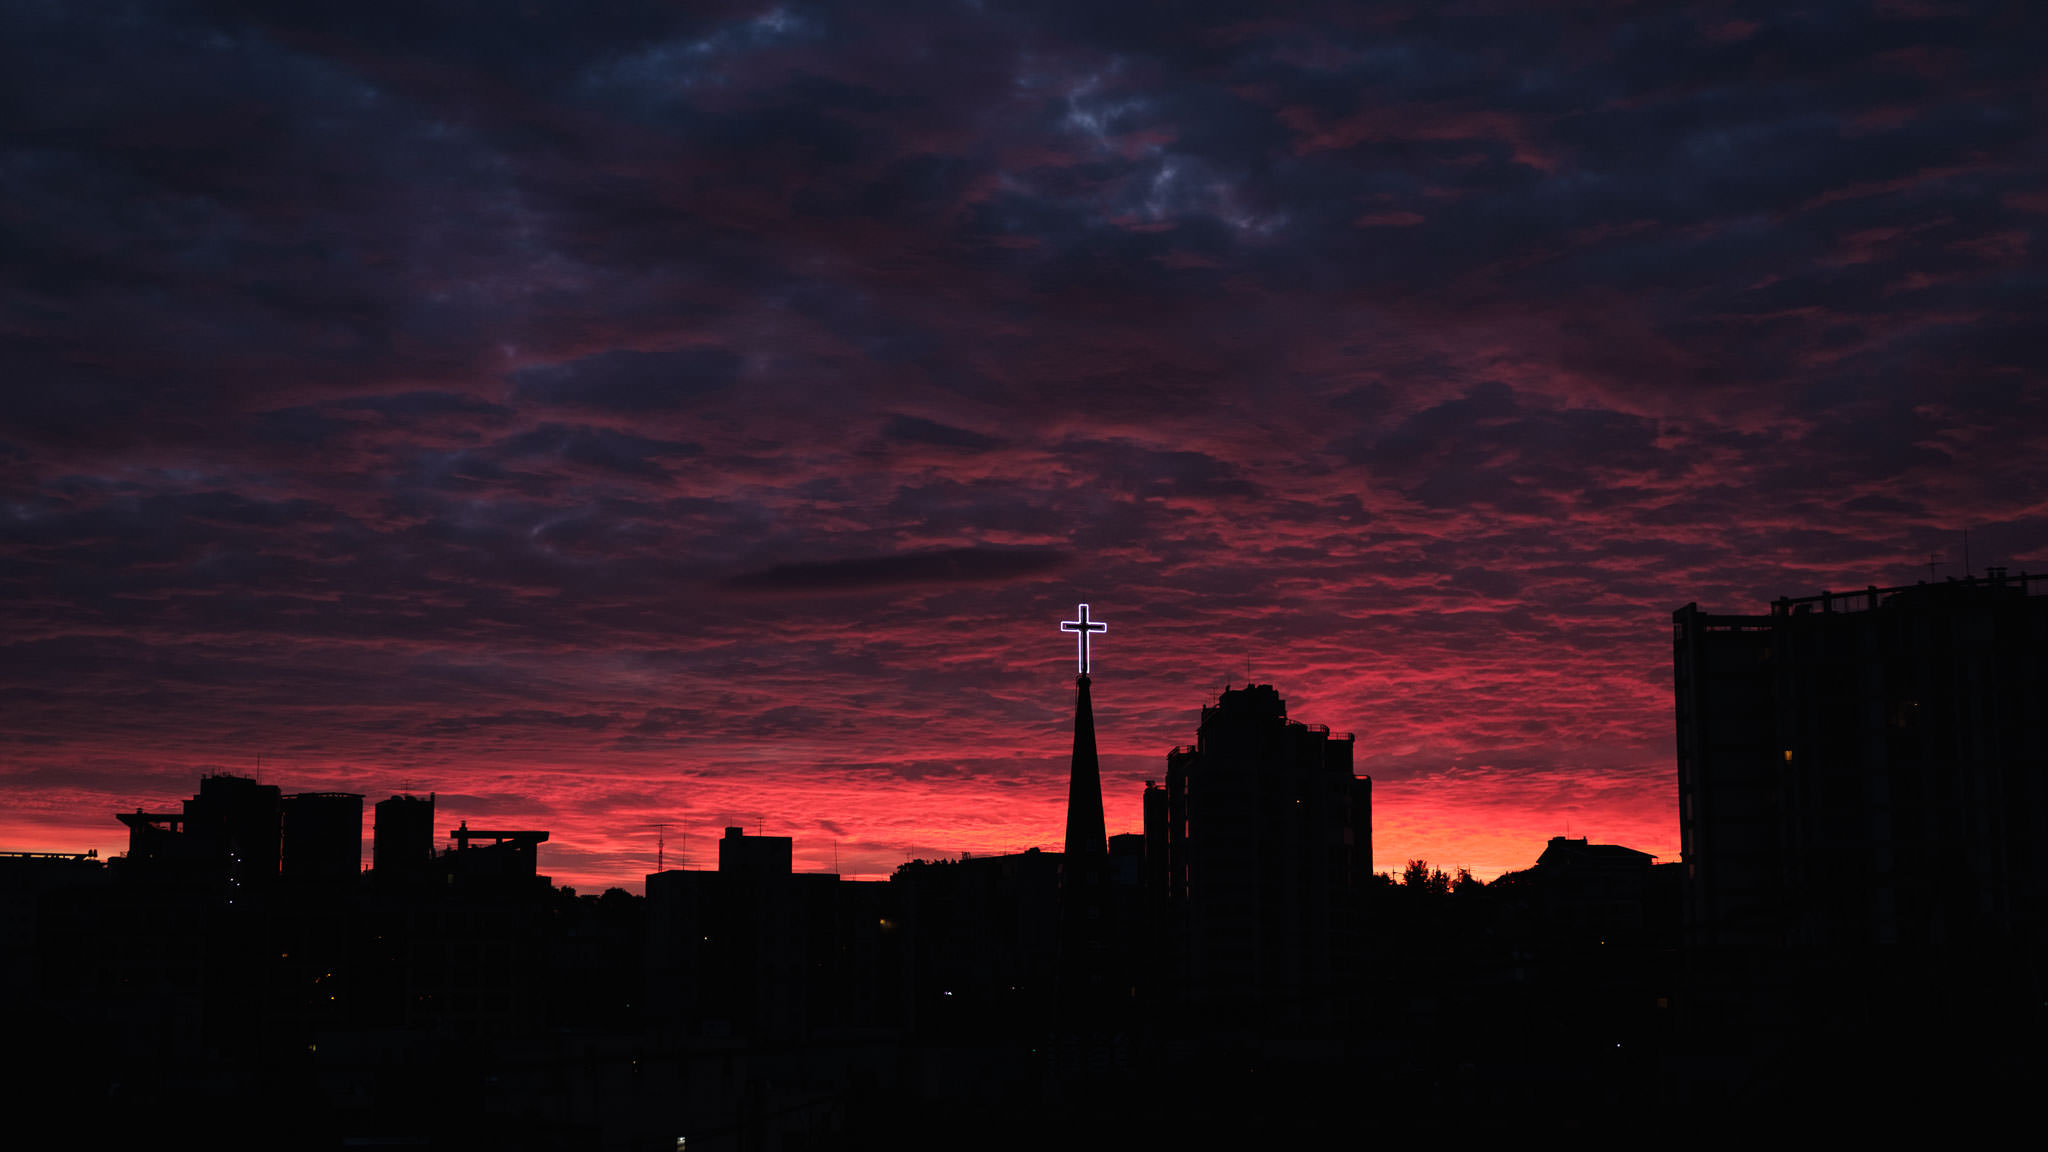
- 3-Strip Technicolor Punch-up! with Vibrancy adjustment disabled.
- Processed raw.
