Maybe you’re still reeling from the announcments of Lightroom Classic and the new Lightroom CC. Get used to it. How, when, or whether at all to move from Lightroom Classic to CC is likely to remain an open-ended question, one that you will return to over and over as the products continue to evolve (or languish?), as Adobe continually attempts to incentivize you into its cloud. At least until you give in, or bail out of the Creative Cloud ecosystem altogether.
I choose you, Lightroom Classic!
For now, my plan is to hang in with Lightroom Classic. Because Backlight and Publish Services. Because the Tone Curve. Because plugin support. And because I’m just not on board with cloud storage.
Regardless of my preferred Lightroom, though, I have a Creative Cloud subscription and access to both. And while my photography will continue to live in Lightroom Classic for the foreseeable future, I may yet have use for Lightroom CC in the meantime …
The iPhone Tangent
This will circle back to Lightroom, I promise.
I have been nearly three years with my 64GB iPhone 6 Plus, and lately struggling with insufficient storage and ailing battery life. I’ve never been much for using my phone as camera, but with these problems combined, my phone may as well not have had a camera at all.
The iPhone 8 finally launched in South Korea last week, and I pounced on the 256GB model. I now have a phone with an upgraded camera, ample battery life, and storage to spare.
The time is ripe for me to get reacquainted with the Lightroom CC mobile app, and my plan is to use Lightroom CC as a desktop client for my mobile photography.
I am highly interested in the new iPhones’ support for High Efficiency Image Format (HEIF), but I am not likely to invest time or creativity into the format until there’s wider support for it. I’m talking cameras supporting Raw+HEIF capture, and Web browsers offering native support for HEIF in webpages, with JPEG as an optional fallback for older browsers.
In the meantime, I can use the Lightroom CC app to shoot DNG images with my phone, ensuring I get the most out of my shots, and using the “Professional” camera interface for creative control of my captures.
Images will automatically sync to Lightroom CC on my desktop for editing, and I can use mobile sync in Lightroom Classic to merge those images with my larger library, and for publishing images to my website (via Backlight) should I want to include them in my galleries.
I could easily bypass Lightroom CC, relying solely on Lightroom Classic to sync with mobile. But I do like the thought of keeping my phone images and camera images separate, and it allows me to maintain a finger on the pulse of both applications, however tangentially, as they develop.
Syncing the Lightrooms
So, here’s how to get the Lightrooms properly interactiing according to the plan I have described.
Lightroom CC Mobile
In the app, tap the “Lr” in the top-left corner to access preferences.
- Cloud Storage & Sync
- Use Cellular Data : OFF
- Only Download Smart Previews : ON
- Prevent From Sleep : ON
- General
- Auto Add Photos & Videos : OFF
- Add Copyright : ON
- Lens Profile Corrections : ON, Raw only
- Metadata Sharing
- Share with Metadata : ON
- Caption : ON
- Camera & Camera Raw Info : ON
- Location Info : OFF
These settings because …
… I have a limited data plan.
… I don’t plan on downloading raw images not taken with my phone.
… I don’t want every stupid image captured added to my photo library, like if I shoot a WiFi password at a coffee shop counter, etc. So if I want images added that I haven’t shot in the Lightroom CC app, I will add them manually.
… I’m happy to share my metadata, but prefer to err on the side of privacy when it comes to location info.
Lightroom CC Desktop
Access Preferences.
- Local Storage
- Target Available Disk Space Usage : 10%
- Store a copy of ALL originals locally : OFF
- General
- Prevent system sleep during sync : ON
I’m keeping my disk space usage low and NOT storing originals locally because I’m also going to be syncing with Lightroom Classic. Images will be stored more permanently therein, and so I’m setting up to use Lightroom CC only as a passthrough workspace.
Any other settings, set according to user preference or for best performance for the individual system.
Lightroom Classic CC
Access Preferences and the “Lightroom CC” tab.
- Prevent system sleep during sync : ON
- Specify location for Lightroom CC ecosystem’s images : ON, and set my preferred folder location.
- Use subfolders formatted by capture date : Set according to user’s preference.
Close the preferences window to return to the Library module, then click the identity plate in the top-left corner to enable sync.
Whatever folder you selected above for storing images should appear in your Folders panel.
In the Collections panel, create a new collection. Enable the “Sync with Lightroom CC” option, and name the collection appropriately; mine is called “Sync-to-LrCC”.
I don’t expect to make much use of this collection, but should I want to send images to Lightroom CC or mobile, this is where I’ll put them. It’s nice having this setup and ready-to-use.
Conclusion
My ecosystem is now fully configured, and whatever I shoot on my phone will show up in Lightroom CC and Lightroom Classic whenever I’m on WiFi.
If I want to publish an iPhone image to my Backlight-powered website, I simply drag images from the mobile-synced folder to publish services in Lightroom Classic and press the Publish button, same as always.
The hassle of getting images from phone to desktop has always been a major reason NOT to use my phone camera. With my new iPhone 8 Plus resolving my storage and battery woes, and Lightroom making it easy to get photos off of the phone, I might actually start shooting with the thing. I suddenly feel less like an old man.
I’d love to hear your take on all of this, how you might be handling your mobile photography differently, or whether you see a use for both Lightrooms in your own workflow. Sound off in the comments below, or start a conversation in our Facebook group or the community forum.
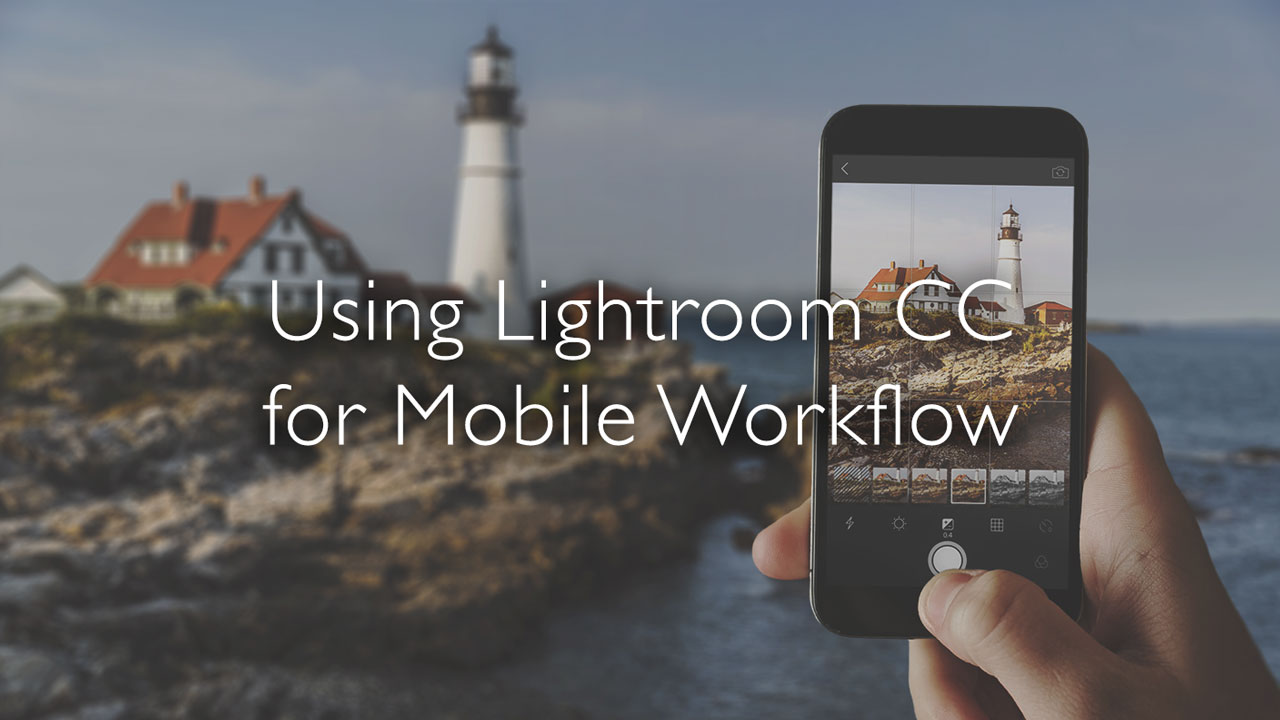
Hero image sourced from Adobe’s tutorial, Take better photos with the in-app camera.